A Simple Pillowcase Sewing Project for Kids
I remember when my grandma gave me my first sewing lesson. I remember her sewing and stitching all the time whenever she would babysit my sisters and me. It was the first of many lessons, and not just about sewing.

It was a great sewing lesson and project because it’s something that everyone needs: A pillow case.
I believe it is the best first project for children because it can be done with a single piece of fabric. And, a child gets an introduction to the tools of the sewing trade without being overwhelmed with complicated details.
The materials are reletively cheap too so if a mistake is made then it is no big deal. We actually have “pillowcase-making-days” on those rainy when you can’t go outside without getting soaked. Here are some other activities for kids from Crystal.
It was a perfect project for me because I was quite young, and didn’t have a clue about sewing. The day was the first time I remember really planning something out.
I didn’t make up this pattern or project, and I know my grandma didn’t either. But it is a great project that has stood the test of time. This is for a standard size pillow – 22.5“ by 31.5”.
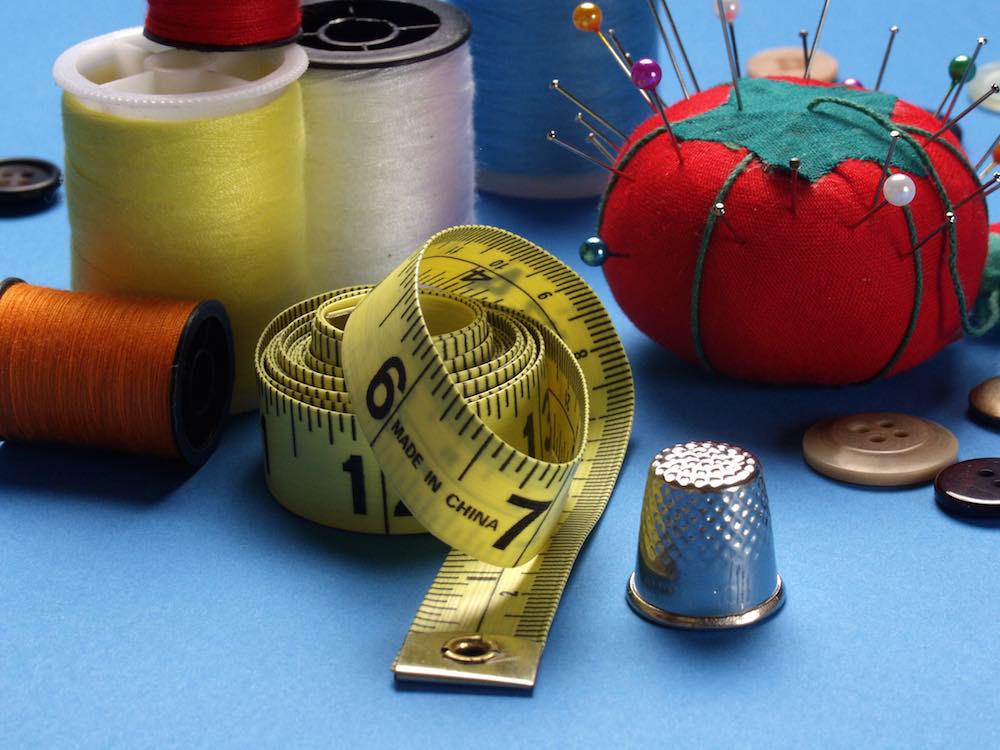
Materials Needed:
- Fabric (45“ X 31.5”) – Get fabric that has a 45″ width.
- A spool of thread to match your fabric
Equipment Needed:
- A beginner friendly sewing machine (Here is a list of sewing machines that are great for kids.)
- A Ruler
- Sewing pins
- Sewing Scissors
The Steps
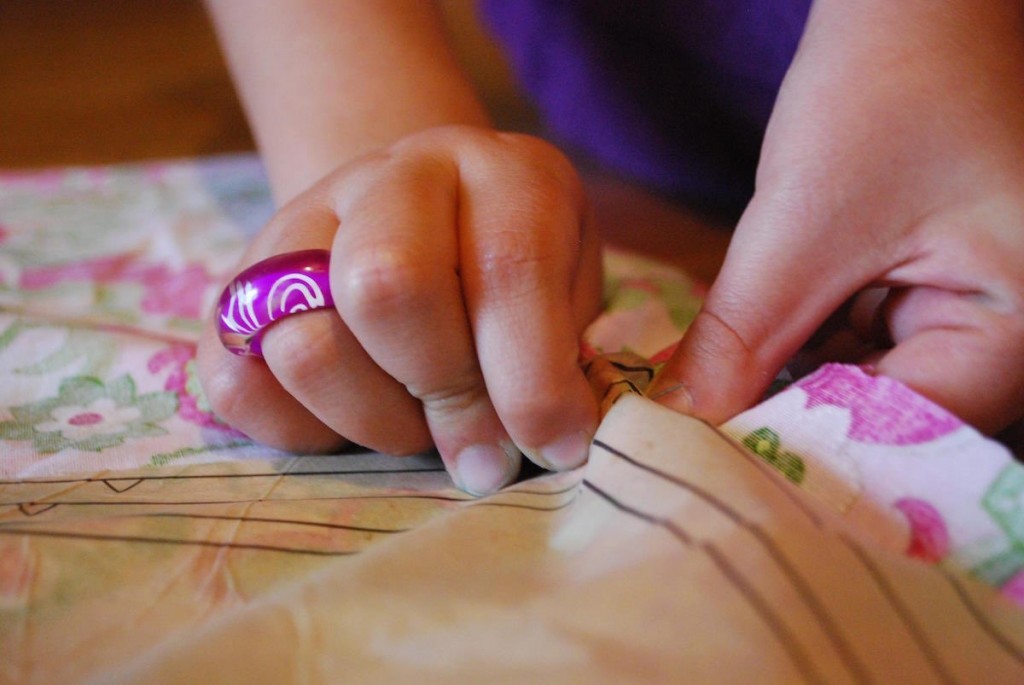
- Choose a piece of fabric. I like to let the child choose the pattern since that is part of the fun! Of course, we do want the fabric to be soft since it will be a pillowcase.
- Wash the fabric to get any dust and dirt off of it. Then, iron the fabric so it is wrinkle free.
- Put the clean, wrinkle-free fabric facedown flat on a table.
- Fold the fabric in half along the long edge (the 45“ edge) so that you have a 22.5” edge after folding. Then, measure the dimensions to 31.5″.
- Cut the fabric at the 31.5″ line.
- Finish the edges on your sewing machine by hemming them to prevent fraying. (Here is a nice Brother sewing machine – I have one almost just like it.)
- Close the pillowcase by folding it in half. Be sure to have the pattern on the inside because you want to sew the fabric together on the inside. When you finish sewing, you will need to turn the pillowcase right-side-out.
- Then, sew the two edges together using a 1/4″ seam allowance, being sure to leave the remaining short side open. You have to have a way to get the pillow in there!
That is all there is to it! And, it is a great way to inspire any youngster to get in touch with their crafty side.