Skip to content
YouTube
Facebook
Pinterest
Instagram
Home
About
Expand
Speaking
Contact
Guest Post
Advertise
Learn to Blog
SHOP
Expand
Make Memories with Your Preschooler
Get Dinner on the Table
Become Affiliate
Kids
Expand
Kid Color Pages
Elf on the Shelf Ideas
35 Winter Activities for Kids
Outdoor Winter Activities
Spring Break Activities for Kids
80+ Summer Activities for Kids
Back to School Activities
School
Expand
Letter of the Week Crafts
Handwriting Practice for Preschool
Handwriting Practice for Kids
Books Children Must Read
Hand Print Art for the Alphabet
Preschool Letter Worksheets
Letter of the Week Snacks
Make an Alphabet Flip Book
Preschool Do a Dot Printables
Name Practice for Preschoolers
Free Preschool Printable Worksheets
Homeschool
Dyslexia Resources
Back to School Tips
Crafts
Expand
Christmas
Expand
Christmas Crafts
Valentine Crafts
St Patrick Day Crafts
Easter Crafts
Teacher Appreciation Ideas
Mothers Day Crafts
Fathers Day Crafts
Fourth of July Crafts
31 Easy DIY Halloween Costumes
Fall Crafts
Expand
Cheap Halloween Crafts
Toilet Paper Roll Thanksgiving Crafts
Craft Ideas for Thanksgiving
Food
Expand
Easy Recipes Index
Simple Soup Recipes
30 Minute Meals
Chicken Recipes
Beef Recipes
Crockpot Recipes
Pasta Recipes
Dessert Recipes
Expand
Best Pumpkin Dessert Recipes
Simple Spanish Dessert Recipes
Fourth of July Food
10 Easy Recipes for Summer
Snack Ideas for Kids
Crockpot Tips
Recipe Resources
Free Printable Meal Planners
New?
Blog
Search
YouTube
Facebook
Pinterest
Instagram
Toggle Menu
Home
/
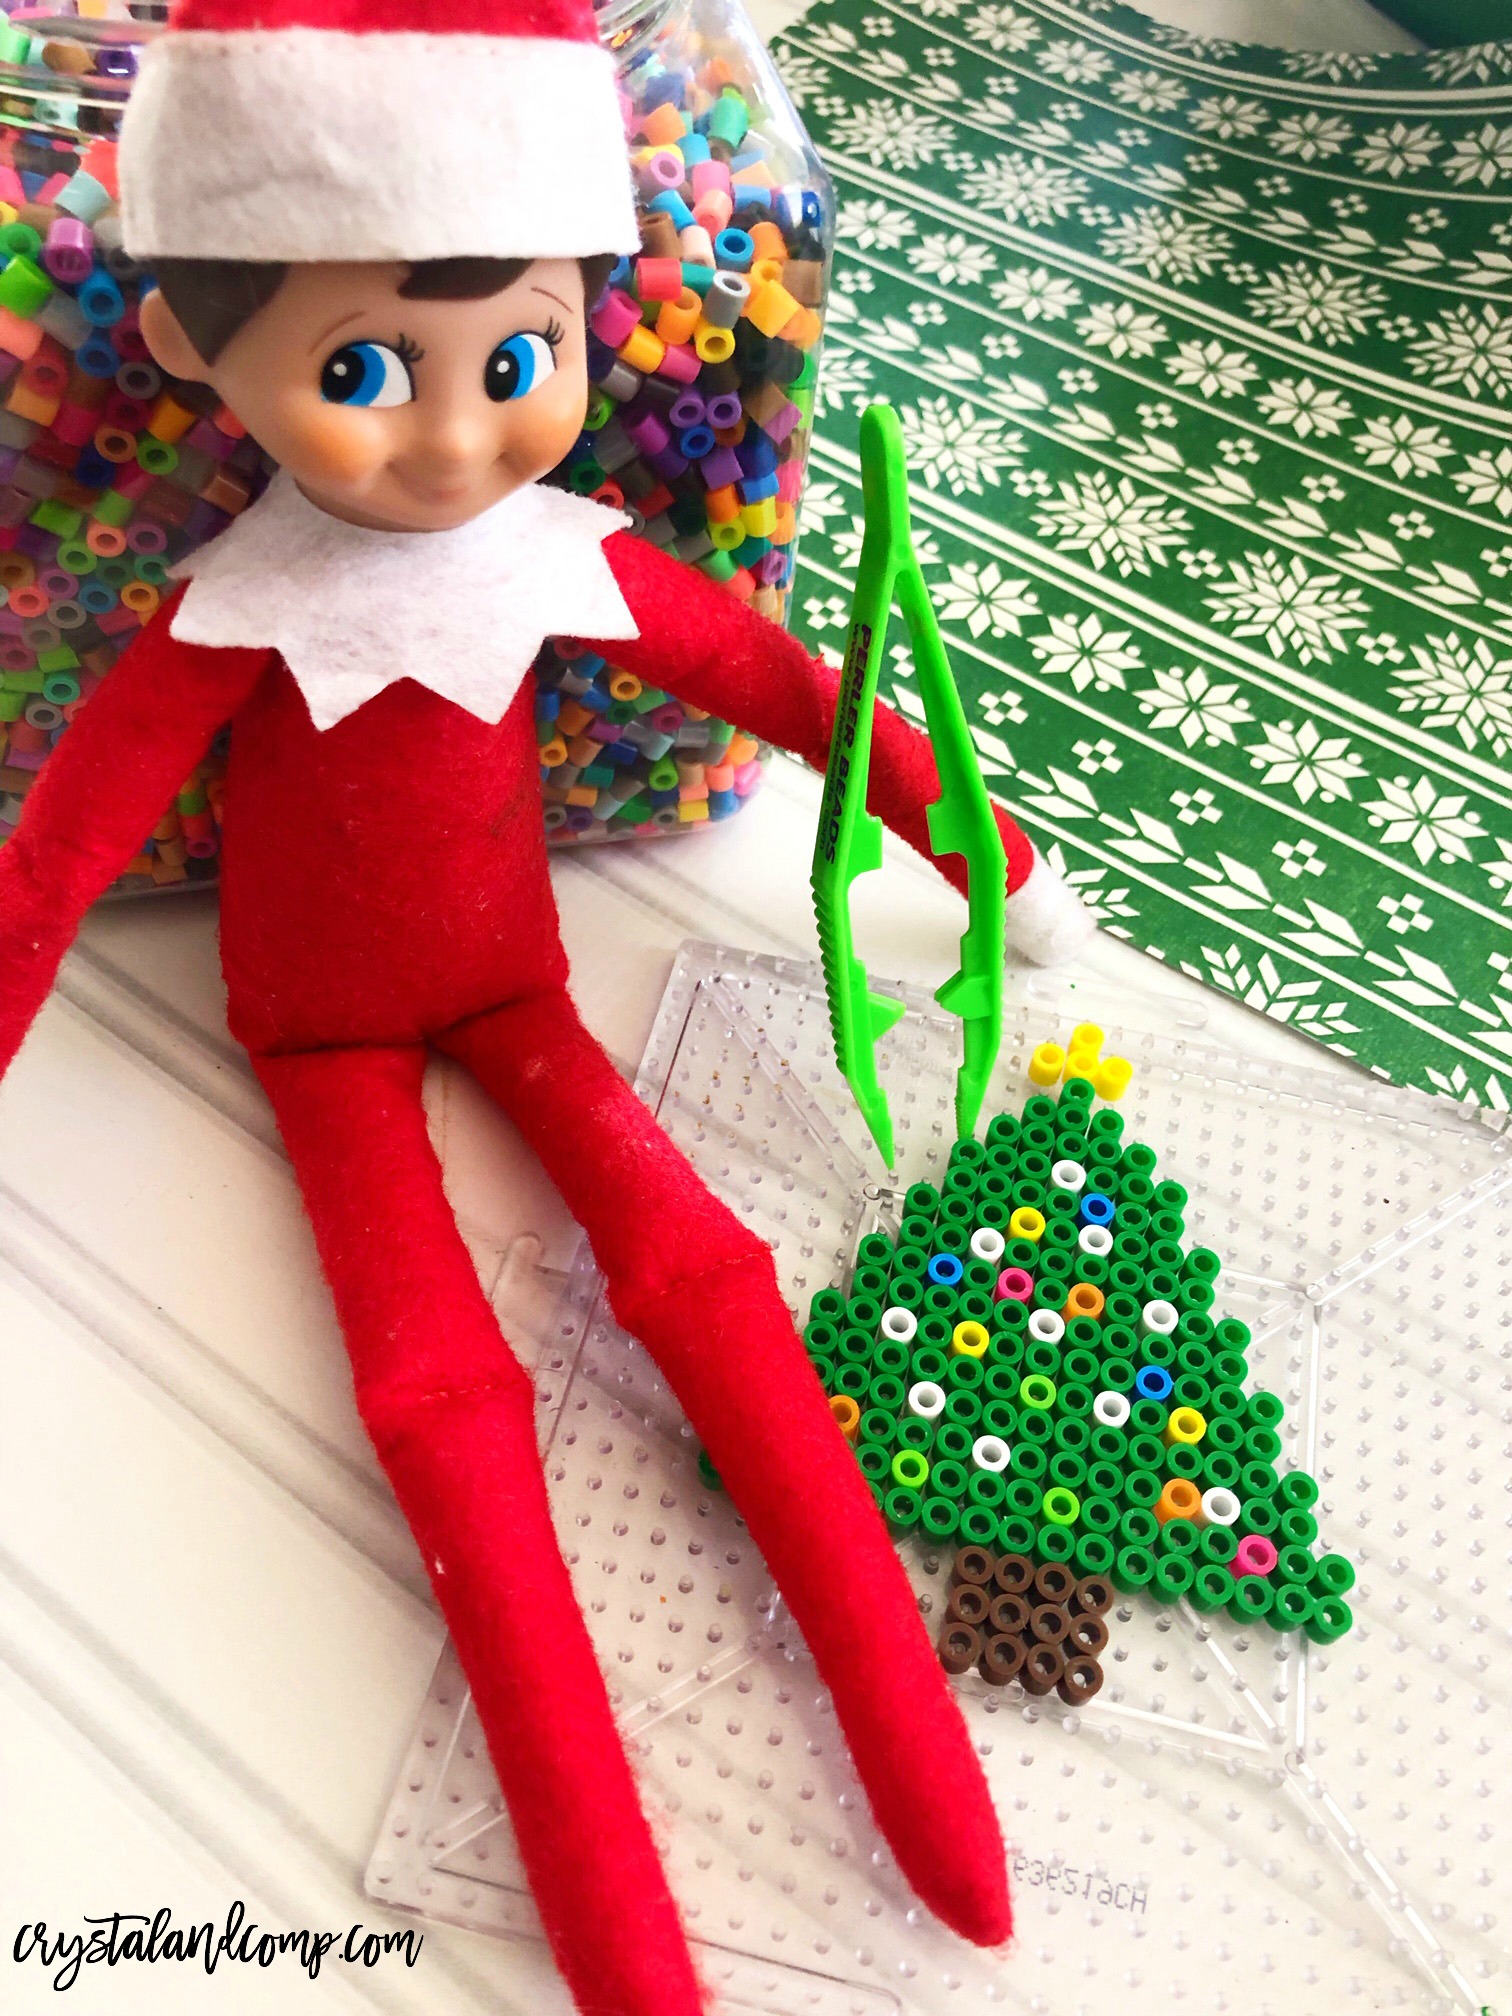
christmas tree ornament
christmas tree ornament
Elf on the Shelf Beaded Ornaments
Home
Easy Recipes
Activities for Kids
Educational Resources
Craft Tutorials
Blog
Shop
Toggle Menu Close
Search for:
Search