Easter Bunny Butt Cookies Using Oreos
Easter Bunny Butt Cookies Using Oreos will definitely make your Spring sweeter. They are easy to make and super adorable! With just a few ingredients, these treats can be whipped up quickly. Plus, your kids will absolutely adore them. No baking skills are needed, so these are perfect for busy moms. By using chocolate sandwich cookies, the process is as convenient as it gets.
When it comes to Easter desserts, there’s nothing better than something quick, cute, and fun. These treats will brighten your table while keeping things stress-free. Plus, the kids can help decorate! No fancy skills or expensive ingredients are needed, making these ideal for busy families!

You know what else I love? These treats are also the perfect centerpiece for your holiday spread. They’ll add a pop of fun and color to your dessert table. And you can make them ahead of time and they will be just as fresh and tasty. More about that in a bit.
Easter Treats You Will Love
There are so many delightful Easter treats to enjoy beyond just cookies! The shareable and festive ideas are all sure to be a hit!
With treats like these, your Easter spread will feel so special and full of love! Add any of these ideas to your holiday get together or church potluck!

Ingredients Needed To Make Bunny Butt Easter Cookies
To make these treats you’ll need a handful of simple, tasty ingredients that come together for a fun, whimsical treat. Everything on this list is easy to find and perfectly suited for this playful creation. You’ll be amazed at how these ingredients turn into adorable bunny-shapes that are almost too cute to eat!
Ingredients and Why They’re Important
- Oreo cookies – These act as the base of each bunny bottom, giving a deliciously chocolatey and sturdy foundation for the dessert.
- Mini Oreo cookies – Used for the bunny feet, these add the perfect size detail to complete the look, while staying yummy.
- white melting chocolate – This creates the smooth, white “fur” of the bunny, tying the whole design together beautifully.
- pink melting chocolate – Adds a pop of color for adorable paw details, making the bunnies look sweet and festive.
- mini marshmallows – Used as bunny tails, these soft and fluffy treats make the cookies even more endearing and fun to eat.
When combined, these simple ingredients work their magic to create the most adorable snack.

Presentation and Serving Ideas for Easter Cookies
These deserve a spotlight on your dessert table! Arrange them on a colorful tray or a bed of fake grass to create a cheerful, spring-themed display. For extra charm, sprinkle pastel candies or mini chocolate eggs around the cookies.
These cookies pair wonderfully with other holiday treats like cupcakes, thumbprint cookies, and cheesecake cups. We gave you some links above for these ideas. Consider serving them alongside a fruity punch or a pastel-colored drink.
If you’d like to share these treats, packaging them as gifts is a wonderful idea! Place each cookie in a clear cellophane bag tied with a pastel ribbon and an Easter tag.

Tips for Making Cookies Dipped in Melted Chocolate
Making cookies dipped in melted chocolate is easier than you think, but a few tricks can make the process smooth and stress-free! Here are some tips to help you nail it:
- Use High-Quality Chocolate
Choose good melting chocolate or chocolate chips designed for candy making. High-quality chocolate melts more smoothly and creates a glossy, even finish. - Melt Chocolate Gently
Melt chocolate in a microwave on low power in 15-30 second intervals, stirring between each. Alternatively, use a double boiler to prevent overheating or burning. - Add a Little Oil
Stir in a teaspoon of coconut or vegetable oil to the melted chocolate. This trick keeps it silky smooth and easier to coat the cookies. - Cool the Chocolate Slightly
Avoid dipping cookies in piping-hot chocolate. Allow it to cool a bit so it thickens slightly for smoother application and better coverage. - Use a Dipping Tool
Forks or specialized dipping tools can be your best friend. They help lift and remove cookies with minimal mess and ensure even coverage. - Set on Parchment Paper
Place dipped cookies on parchment or wax paper to dry. These surfaces help prevent the chocolate from sticking as it hardens. - Work Quickly
If adding decorations, sprinkle them while the chocolate is wet. Once it sets, the toppings won’t stick. - Store Properly
Allow the chocolate to fully set at room temperature or in the fridge. Then, store your cookies in an airtight container to keep them fresh.
With these tips, you’ll have perfectly dipped cookies that look gorgeous and taste incredible!

How Far in Advance Can You Make Dipped Cookies?
You can make dipped cookies up to 5-7 days ahead of time! Proper storage is the key to keeping them fresh and delicious for longer while protecting their decorative appeal.
- Use Airtight Containers
Store cookies in an airtight container to prevent them from drying out or absorbing moisture from the environment. This keeps the chocolate crisp and the cookies fresh. - Layer with Parchment
If stacking cookies, place parchment or wax paper between layers to keep designs intact and prevent them from sticking to each other. - Keep Them Cool
Store cookies in a cool, dry place. Chocolate can soften or get sticky in warm or humid conditions, so avoid direct sunlight and warm spots in the kitchen. - Refrigerate if Necessary
If your home is warm, refrigerate the cookies in an airtight container. Ensure they’re well-sealed to avoid absorbing odors or moisture from the fridge. - Avoid Freezing Fully Dipped Cookies
While you can freeze undipped cookies, freezing fully dipped ones may cause chocolate discoloration and affect texture after thawing.
By making them ahead and following these storage tips, your dipped cookies will remain vibrant, fresh, and crowd-pleasing for days!

How to Package Dipped Cookies as Gifts
Gifting dipped cookies is both thoughtful and adorable! With a little creativity, you can turn your homemade treats into beautifully wrapped presents. Here are some fun and practical ideas:
- Use Clear Bags
Place dipped cookies in clear cellophane bags so their beautiful designs can shine. Seal the bags with pastel ribbons or twine for a festive touch. - Add Personal Tags
Tie on handmade or store-bought gift tags. You can write a sweet message or add details about the cookies, like flavors or special ingredients. - Choose Small Boxes
Use decorative cookie or bakery boxes. Line the bottom with parchment paper and arrange cookies neatly. Finish with a ribbon or bow for a polished presentation. - Mason Jar Magic
Stack cookies inside mason jars for a rustic, charming gift option. Add a fabric circle under the lid and tie with a ribbon for extra flair. - Holiday Tins
Store cookies in Easter-themed tins or reusable food-safe containers. These are perfect for gifting while keeping your cookies fresh. - Individual Wrapping
Wrap each cookie in parchment or wax paper before placing them in packaging. This helps prevent sticking and keeps them looking tidy. - Label for Longer Storage
If cookies are meant to last, include storage instructions so recipients can keep them fresh. It’s a thoughtful extra step for the perfect gift!
With a little attention to detail, your dipped cookies will look just as amazing as they taste!

Is Amazon a good place to buy baking supplies?
Amazon is a fantastic option for purchasing baking supplies, offering a wide variety of products, competitive pricing, and unmatched convenience. Whether you’re looking for basic ingredients like flour and sugar or specialized tools such as decorating kits, silicone mats, and bakeware sets, Amazon has it all. The platform frequently features discounts, bulk options, and sales, making it a budget-friendly choice for bakers. For beginners, Amazon also provides affordable cake decorating kits and bundled tools that are highly rated and perfect for starting out. Additionally, the ability to read customer reviews and compare products ensures you can make informed decisions about your purchases. While Amazon is a great resource, it’s always a good idea to compare prices and check reviews to guarantee quality. Let me know if you’d like more tips or recommendations!
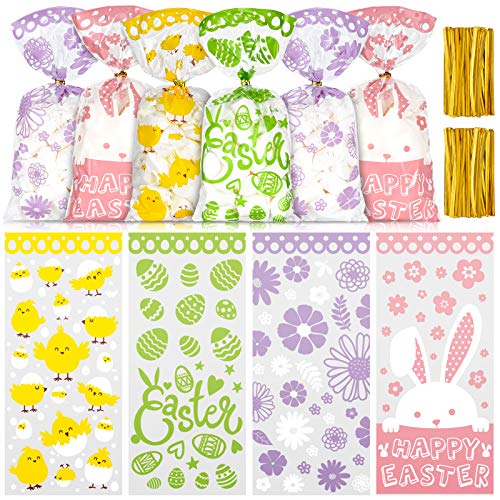
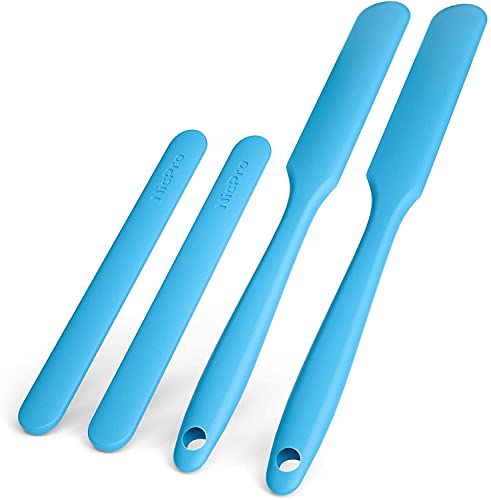
100 Pcs Easter Wax Paper for Food, Waterproof Oil-proof Parchment Paper Sheets, Wax Paper Sheets Deli Paper Sandwich Wrap Candy Cookies Wraps with Rabbit Egg Flowers Pattern for Kitchen Handmade Food Whaline 24Pcs Easter Treat Boxes with Bunny Window Candy Color Plaids Cupcake Cardboard Cookie Box Colorful Easter Rabbit Goodie Treat Gift Boxe Container for Spring Holiday Party, 4 x 4 x 2.6 InchWhaline Easter Cellophane Treat Bags 160pcs Bunny Easter Egg Treat Bags with 200pcs Gold Twist Ties Plastic Cello Candy Sweet Bags Gift Bags Chick Flower Bags for Easter Party Table Decor, 4 Designs8 Cup Large Glass Measuring Cup – Kitchen Mixing Bowl, Liquid Measure Cups, Glass Bakeware Set, Punch Bowl, Batter Bowl.Nicpro Silicone Stir Sticks Kit, 2 PCS Silicone Resin Popsicle Sticks & 2 PCS Silicone Spatula Scraper for Mixing Resin, Wax, Paint, Epoxy, DIY CraftsSilicone Spatula Set, 5 Piece Food Grade Rubber Spatulas for Baking, Cooking, and Mixing High Heat Resistant Non Stick Dishwasher Safe BPA-Free (Multicolor)


Family Friendly Easter Dessert Recipes
Real fast I wanted to share a few more recipes with you that are perfect for your family get together. I think you will adore any of these. Some of them are from my friends online!
- Bunny Cupcakes
- Bunny Butt Cupcakes
- Bunny Shaped Cupcakes
- Stained Glass Easter Egg Cookies
- Tons of Easter Cupcake Ideas
Any of these ideas will bring a smile to your family’s face! You can’t make a wrong choice. Or… make them all!!

Bunny Butt Cookies Using Dipped Oreos
These no bake cookies are the perfect Easter gathering treat!
Ingredients
- 15 Oreo cookies
- 30 mini Oreo cookies
- 12 ounces white melting chocolate
- 1/3 cup pink melting chocolate
- 15 mini marshmallows
Instructions
- Melt the white chocolate as directed on the package.
- Dip the mini Oreos in the melted white chocolate and place them on parchment paper.
- Dip the full-sized Oreos in white chocolate and set them on parchment paper to cool. While the chocolate is still soft, press a mini marshmallow on top of each large Oreo.
- Once the white chocolate hardens, melt the pink chocolate according to the package instructions and pour it into a piping bag.
- Snip the tip of the bag and pipe one large circle with three smaller circles onto each mini Oreo to create bunny feet.
- After the pink chocolate hardens, melt any leftover white or pink chocolate and add it to a clean piping bag. Pipe a small amount onto the bottom of each mini Oreo.
- Attach two mini Oreos to the top of each larger Oreo to form the bunny’s “butt.”
- Let the chocolate harden completely before serving these adorable treats!
Nutrition Information:
Yield: 15 Serving Size: 1Amount Per Serving: Calories: 331Total Fat: 15gSaturated Fat: 7gTrans Fat: 0gUnsaturated Fat: 7gCholesterol: 6mgSodium: 166mgCarbohydrates: 47gFiber: 2gSugar: 32gProtein: 4g