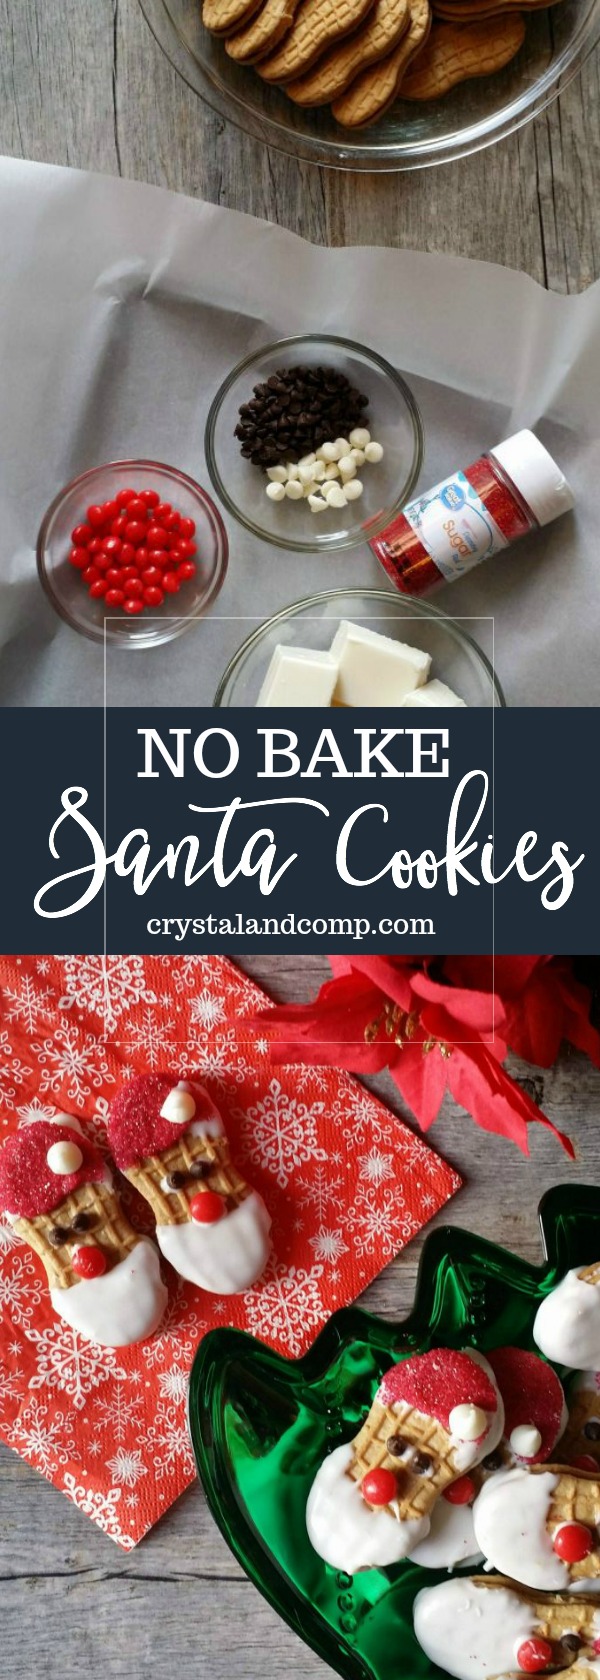
Santa Nutter Butter Cookies
The holidays can feel hectic, but a fun treat like Santa Nutter Butter Cookies will always bring joy. With little effort, these cookies can be whipped up and enjoyed by everyone. Plus, the kids’ faces will light up when they see them! It’s the perfect way to spread some holiday cheer and make sweet memories together.
No bake Christmas cookies are a lifesaver during the busy holiday season, keeping prep time simple and stress-free. With no oven needed, these cookies can be made quickly and enjoyed by everyone. Plus, festive decorations can be added to make them extra special for the holidays. It’s a delightful way to indulge and still have more time for family.

Making treats like this with the kids is such a fun and easy way to bond during the holidays. Little hands can help decorate, making the experience full of laughter and creativity. Plus, for cookie exchanges, they’re a unique and festive treat that stands out. With minimal effort, a beautiful tray can be created to share with friends and family. The joy of baking together and sharing treats makes the holidays extra special.

It’s always a great idea to print these recipes, so it stays part of your traditions. Recipes like this can easily become family favorites, cherished and remembered for years to come. Printed recipes are wonderful keepsakes that can be passed down as memories. Just add them to your recipe binder! Plus, having it handy makes recreating this fun holiday treat so much easier each year!

Santa Nutter Butter Cookies
These no bake Christmas cookies are so fun to make. They are easy enough that the kids will love helping!
Ingredients
- Nutter Butter cookies
- Red Hot candies
- White chocolate bark
- Red and white sugaring crystals
- Black icing
- White cookie icing
Instructions
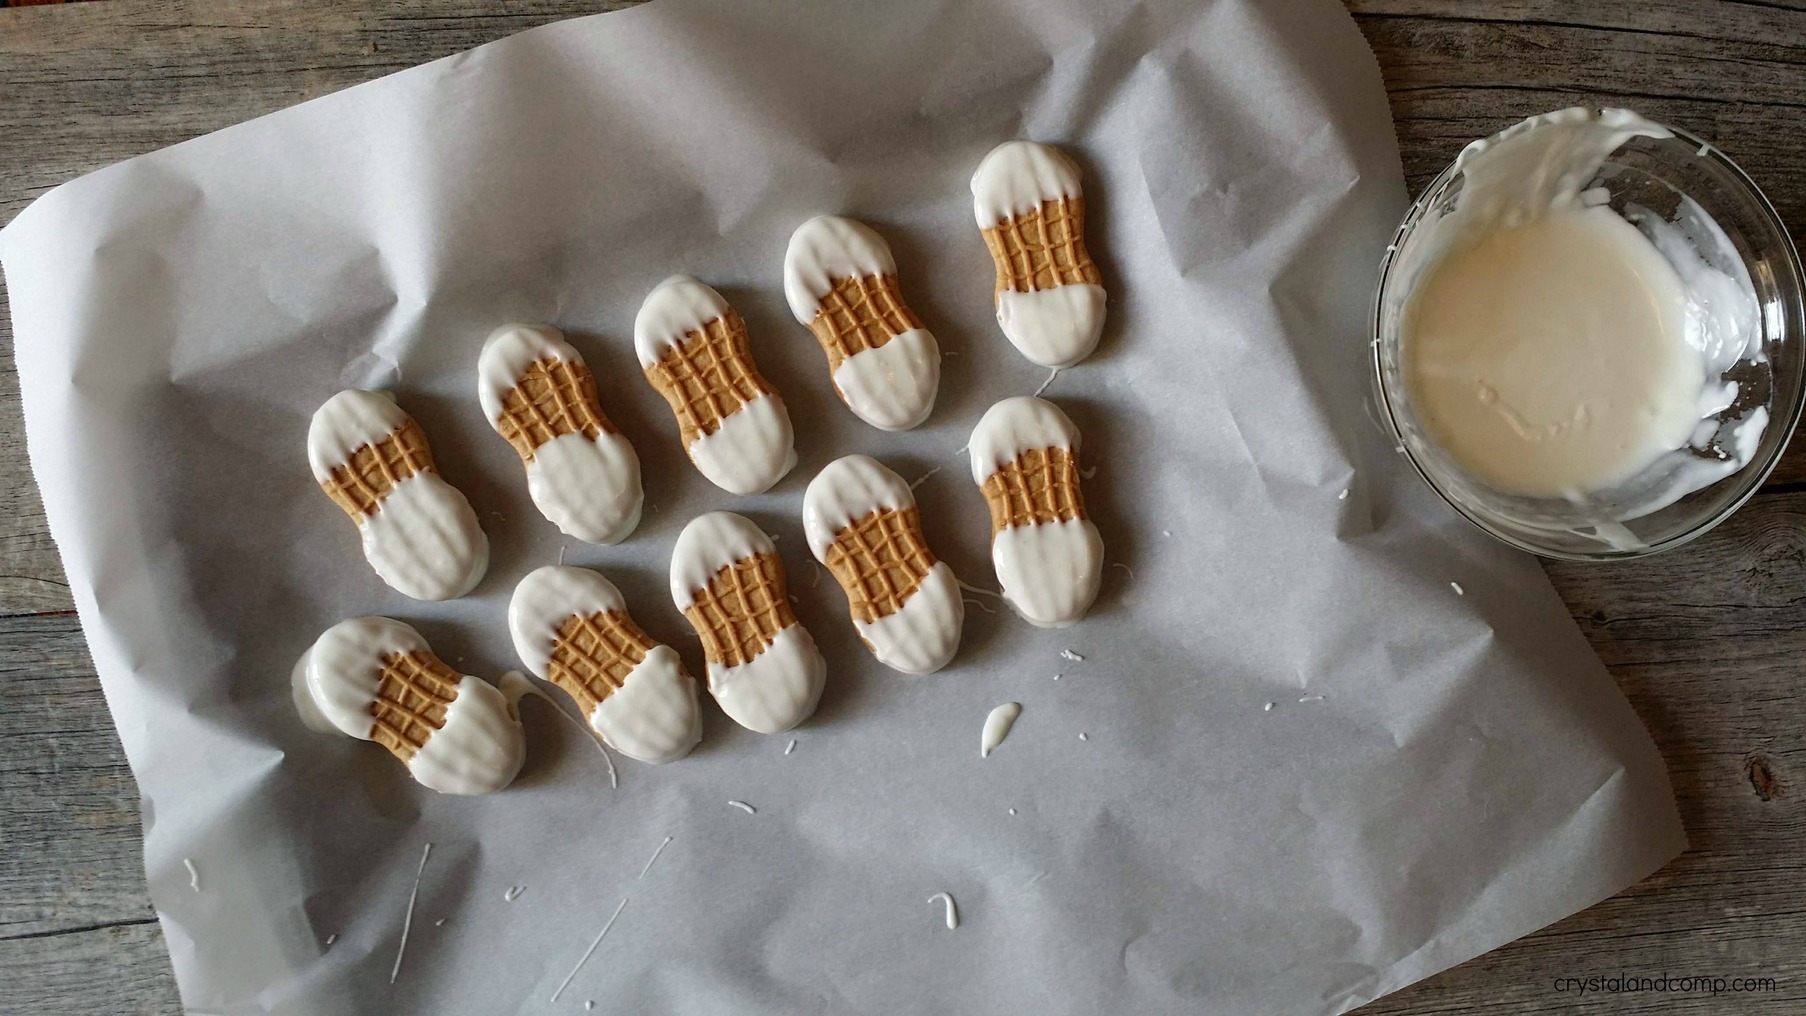
Begin by first heating a few squares of the almond bark in a microwave safe bowl. Depending on your microwave try 1 minute, stir, and repeat if not completely melted.
Carefully dip each end of your cookie into the melted white chocolate.
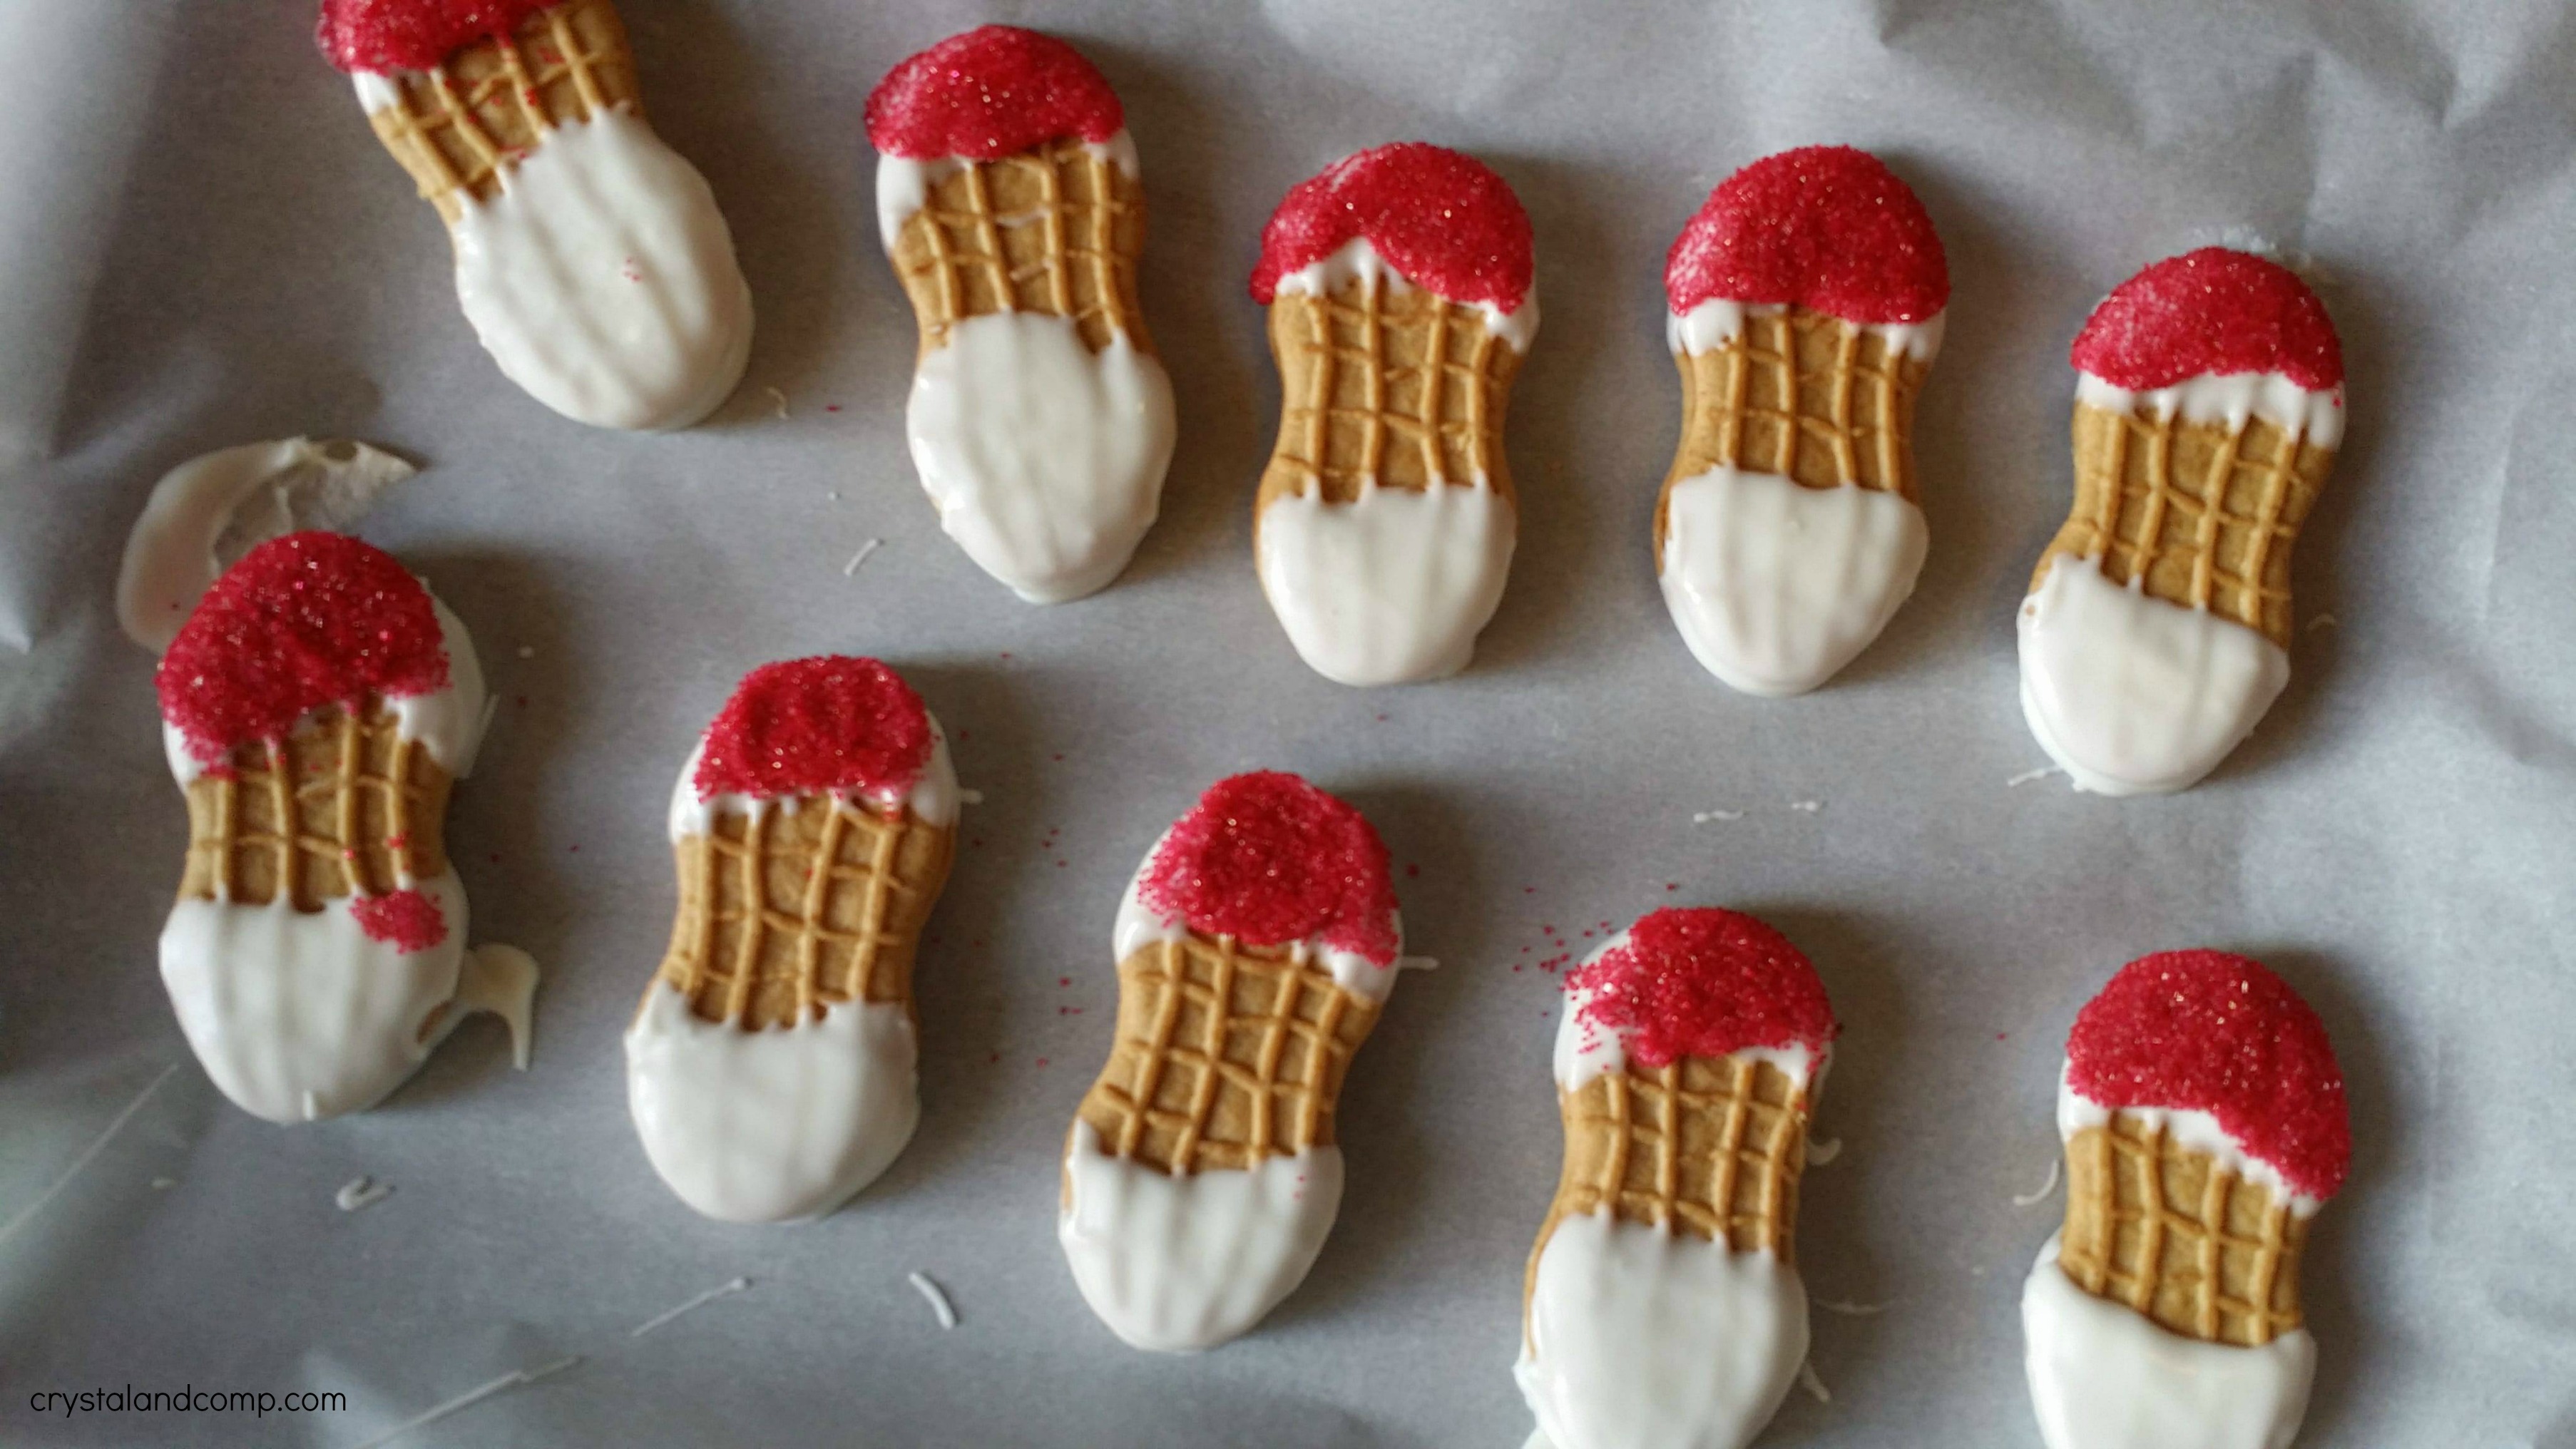
Before the chocolate completely dries press one end of the white chocolate dipped cookie into your red sugar sprinkles. This will be your Santa hat! Use white cookie icing to add a dot of icing to make the ball of the hat. See our image examples if need.
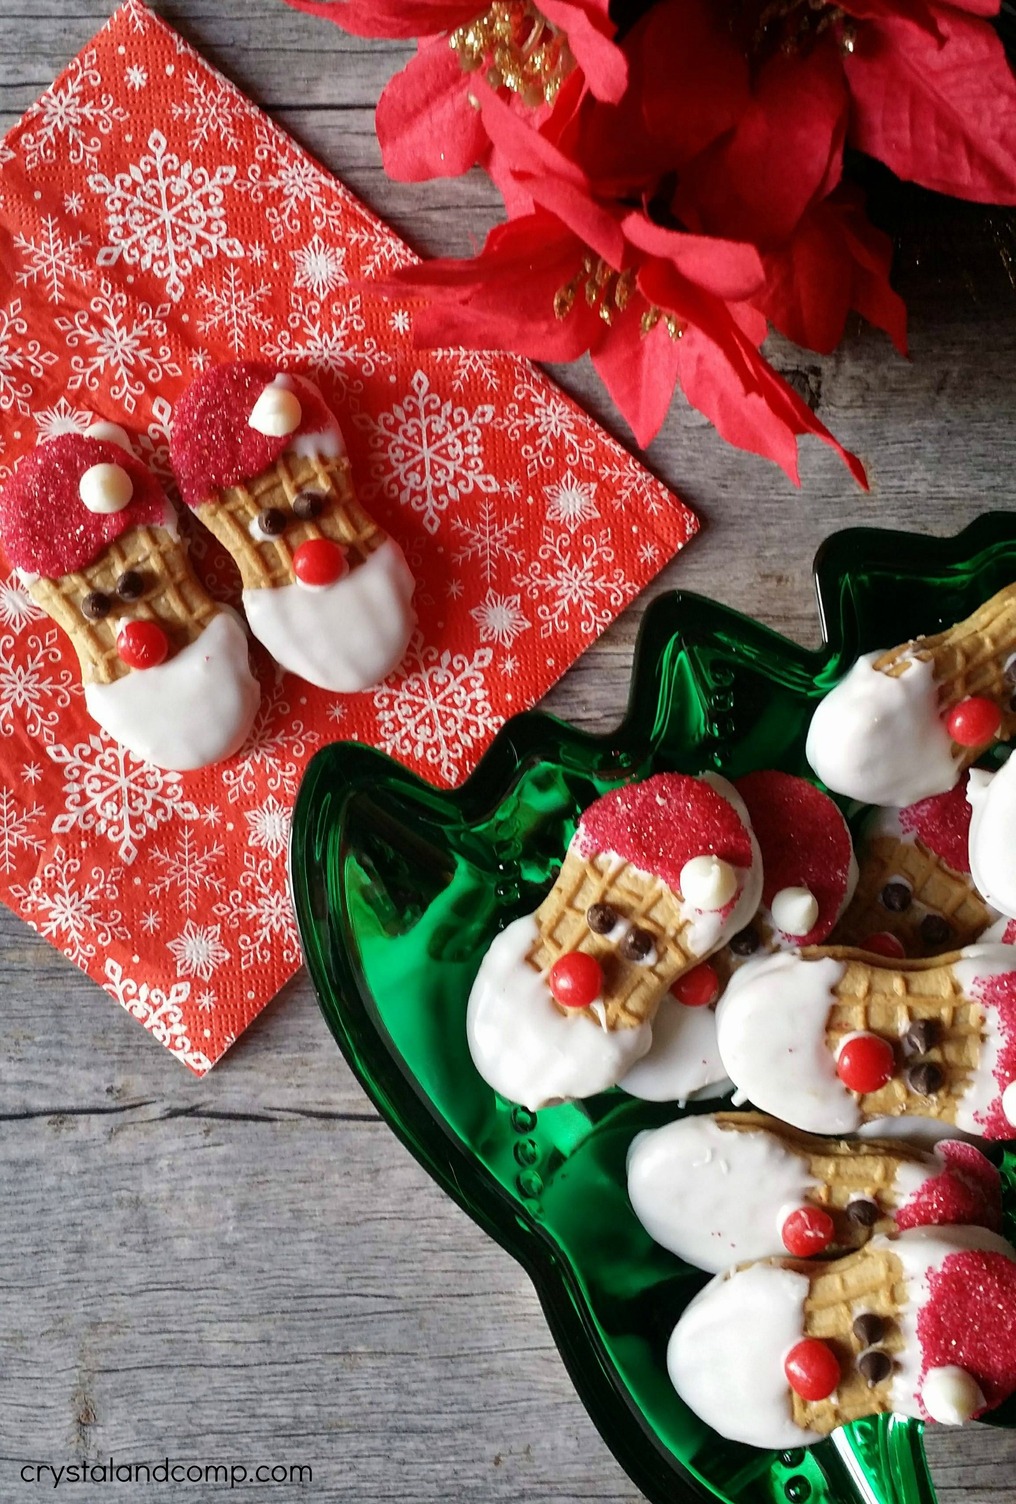
On the lower part of the cookie that you dipped in the white chocolate, you can add some white cookie icing on top of the white chocolate if you want to add a layer of dimension to his beard. It turns out super cute and it's worth the effort.
Add a red hot candy at the top of the beard area to serve as the nose. It will set to hold in place as the white chocolate dries.
Use white icing to make spots for the eyes. Use black icing to add dots to the eyes.
Allow to completely set and then enjoy!
No Bake Dessert Recipes
No bake recipes are such a blessing during the holiday chaos, making festive treats easy and enjoyable for everyone. Any of the no bake variety bring quick joy to your kitchen without the need for an oven, perfect for last-minute ideas. All of these cookies and their cheerful design adds a magical touch to holiday dessert tables, all without breaking a sweat. These easy recipes truly celebrate the season while keeping things stress-free!
- No Bake Christmas Cookie Recipes
- No Bake Classroom Recipes
- No Bake Christmas Wreath Cookies
- No Bake Blueberry Recipes
No bake desserts are the perfect answer to holiday chaos—they’re simple, quick, and packed with charm. They’re a sweet way to share love, laughter, and delicious moments with family and friends, making the season brighter and even more memorable.

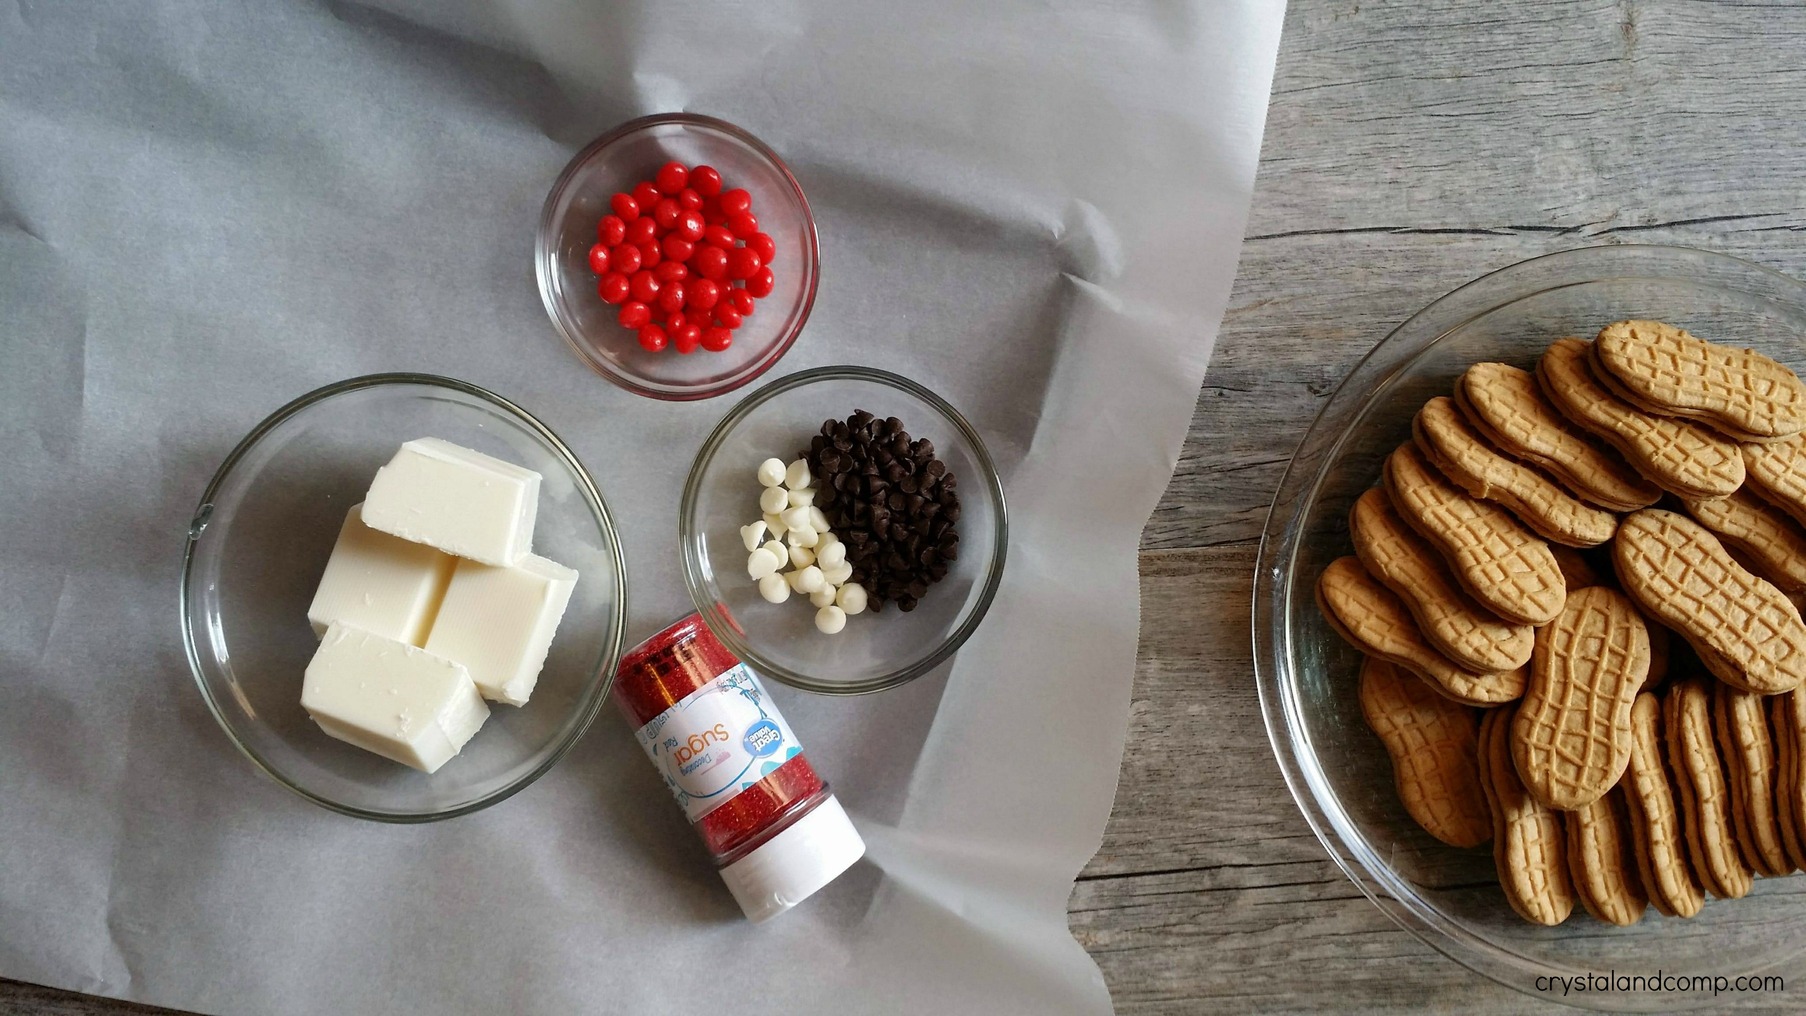
Ingredients Needed for these Nutter Butter Santa Cookies:
These cookies only need a few ingredients and the best part is… they are no bake! This means less time is needed to make these cookies.
- Nutter Butter cookies: These are the base for our Santa cookies! Their unique shape makes the cutest Santa face, no shaping needed.
- Red Hot candies: These add a perfect little red nose to Santa’s face, bringing him to life in the sweetest way.
- White cookie or cake icing: This works like glue, helping all the candies and decorations stick where they need to on our cookies.
- Black icing: Essential for drawing adorable eyes that give Santa his playful, jolly expression.
- White melting chocolate: Used to coat the cookies, it creates the soft, snowy base for Santa’s fluffy beard and hat.
- Red and white sugaring crystals: These add sparkle and texture to Santa’s hat, making them twinkle with holiday magic!
Each ingredient plays a role, making it easy to create Santa’s features with minimal effort and maximum cuteness. Together, they make a fun, no-fuss recipe perfect for kids and festive enough to impress everyone!
Shop My Kitchen
I think you will also love our simple snowman cookies, Christmas sprinkle sugar cookies and any of these no bake Christmas cookies. All of these are perfect for your cookie exchanges!
Buy Baking Supplies on Amazon
Amazon is a fantastic place to buy baking supplies because it offers a huge variety of products, from basic tools to specialty ingredients, all in one place. The convenience of fast shipping means you can get what you need quickly, even for last-minute baking projects. Plus, the helpful customer reviews make it easy to choose the best quality items for your kitchen.
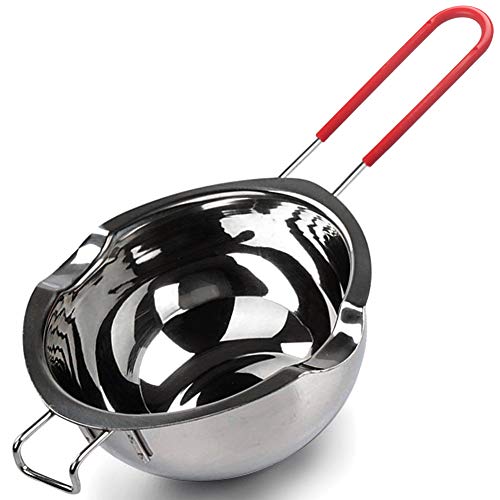
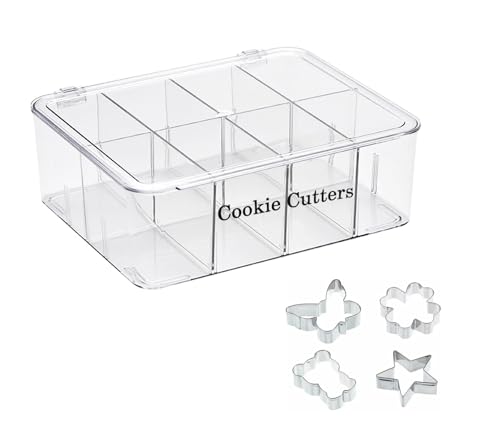
Reynolds Kitchens Stay Flat Parchment Paper with SmartGrid, 45 Square Feet Stainless Steel Double Boiler Pot with Heat Resistant Handle for Melting Chocolate, Candy and Candle Making (18/8 Steel, 20oz, Universal Insert)Splotiva 4 Layers Storage Container, 1.61” Extra-High Layer, Cookie Carrier, Dumpling Box, Stackable Food Container (White & Mint Green)Cookie Cutters Organizer for Baking, Biscuit Cutters Storage Box with 8 Adjustable Compartments, Transparent Dustproof Lid, Perfect Baking Molds Tool Accessories Display Box


Tips for Using a Double Boiler to Melt Chocolate
While you can use a microwave to melt your chocolate, I really recommend using a double boiler.
- Set up your double boiler correctly: Start with a heat-safe bowl that fits snugly over your saucepan without touching the water below. Fill the pan with about an inch of water, ensuring it doesn’t touch the bottom of the bowl when placed on top. Bring the water to a gentle simmer, not a boil, to avoid overheating.
- Keep the temperature low and steady: Chocolate is sensitive to heat and can easily burn, so use low heat for the best results. If you see the water boiling too aggressively, reduce the heat to maintain a gentle simmer.
- Stir consistently: Use a silicone spatula to stir the chocolate slowly and steadily as it melts. This helps distribute the heat evenly and prevents scorching, ensuring a smooth and glossy finish.
- Avoid water getting into the chocolate: Even a tiny amount of water can cause chocolate to seize, turning it into a lumpy mess. Keep the bowl and spatula completely dry, and be cautious of steam or condensation dripping into the chocolate.
- Remove from heat proactively: Once most of the chocolate has melted, remove the bowl from the heat and continue stirring until the residual heat melts the smaller pieces. This helps reduce the risk of overheating.
With these tips in mind, you’ll get perfectly melted chocolate every time, ready to use for dipping, drizzling, or crafting delicious desserts!

Best Tips for Melting Chocolate to Dip Cookies
If yo’ve never used melted chocolate to dip cookies, don’t worry! It does not have to be intimidating. We are going to make it easy for you.
Choose the right chocolate: For dipping, go for high-quality chocolate with a high cocoa butter content, like couverture chocolate, which melts smoothly and has a glossy finish. If you’re using regular chocolate chips, add a bit of shortening or coconut oil to improve the texture and shine.
Temper for a professional look: Tempering your chocolate ensures it sets with a shiny, snap-worthy finish. Heat the chocolate gently, only to its melting point, then cool it slightly before reheating to the working temperature. This step isn’t always necessary for home treats but makes a big difference if presentation matters.
Achieve the right consistency: To make dipping easier, your melted chocolate should be silky and flowy. If it feels too thick, stir in a spoonful of neutral oil or melted cocoa butter to thin it out.
Keep it smooth and lump-free: Melt the chocolate slowly over low heat or in a double boiler to avoid scorching. Stir frequently and patiently. If you’re microwaving, heat in short, 15-20 second intervals, stirring in between to control the temperature.
Dip with care: Once your chocolate is ready, ensure your cookies are completely dry; any moisture can mess with the chocolate’s texture. Use a fork or dipping tool for clean edges and tap gently to shake off the excess. Lay the cookies on parchment or wax paper to set.
With these tips, your dipped cookies will not only taste amazing but also look picture-perfect!

What do I do if my chocolate gets lumpy or hard during the melting process?
It has happened to the best of us…. your chocolate get lumpy or hard when you’re melting it.
Fixing seized chocolate: If your chocolate becomes hard or lumpy (often from water getting into it), don’t panic! Stir in a teaspoon of vegetable oil, melted cocoa butter, or hot milk gradually, mixing thoroughly after each addition. This can help loosen the chocolate and restore its smooth texture.
Prevent it from seizing: Always keep water away from your chocolate. Ensure all your tools are completely dry, and avoid overheating, as high temperatures can also cause the chocolate to seize or burn.
Bring back smoothness gently: If your chocolate has hardened from cooling too much, simply place it back over gentle heat, either in a double boiler or in the microwave using 15-second intervals. Stir constantly to melt it evenly without scorching.
With a little patience and the right approach, you can save your chocolate and get it back to its perfect, silky state!

How far in advance can I make these cookies?
You can typically make dipped cookies about 3 to 5 days in advance. To keep them fresh, store them in an airtight container at room temperature. If your cookies have perishable fillings or toppings, consider refrigerating them, but be aware that this might affect the chocolate’s appearance due to condensation. If you need them to last longer, you can freeze them for up to a month, just ensure they’re well-wrapped to prevent freezer burn.

What are Some Cookie Alternatives to Nutter Butters for Making Santa Shapes?
Maybe someone in your home is allergic to peanut butter? No worries at all. Here are some alternative cookie options.
Vienna Fingers: These oval-shaped cookies are similar in size and shape to Nutter Butters, making them a great substitute. Their smooth surface is perfect for decorating with candy melts and sprinkles.
Ladyfingers: These light and slightly spongy cookies work well for Santa-shaped treats. Since they’re softer, just handle them gently while decorating.
Homemade Shortbread Fingers: Bake rectangular or oval shortbread cookies as a customizable alternative. They’re buttery and firm, offering a perfect base for your creative Santa designs.
Sugar Wafer Cookies: These crispy, rectangular cookies come in various flavors and can make unique, whimsical Santa treats. Add an extra layer of frosting to fill in their textured surface before decorating.
Thin Biscotti or Italian Anise Cookies: Their elongated shape works well for Santas, though you may need to choose smaller-sized ones. The harder texture also holds up nicely under layers of frosting and candies.
With these options, you can still bring Santa cookies to life—even without Nutter Butters!

Santa Inspired Treats
Bring the magic of the holiday season to your table with this delightful collection of Santa-inspired treats! We have so many Easy Christmas Cookie Recipes her eon the site, but we also have some from friends that we love. These are all perfect for holiday gatherings and are guaranteed to spread joy and bring smiles to everyone’s faces!
These Santa-inspired treats are a wonderful way to celebrate the season and create sweet memories with loved ones. Give them a try, and watch as your holiday festivities become even more magical and merry!

The holidays are a time for joy, and treats like Santa Nutter Butter Cookies bring that joy to life with every bite. These whimsical creations are so simple to make yet brimming with holiday cheer, making them the perfect project for families to enjoy together.
From the moment you gather the ingredients to the grand reveal of your adorable Santa-inspired designs, these treats promise sweet memories that will last long after the season ends.

With their ease, charm, and festive appeal, these no-bake treats are a holiday hero for any busy family. From decorating Santa’s features to sharing the finished cookies with loved ones, the entire process is a joy. I can’t wait to see them bring a little extra magic to your home.

What a cute idea! These would look cute on a cookie platter.