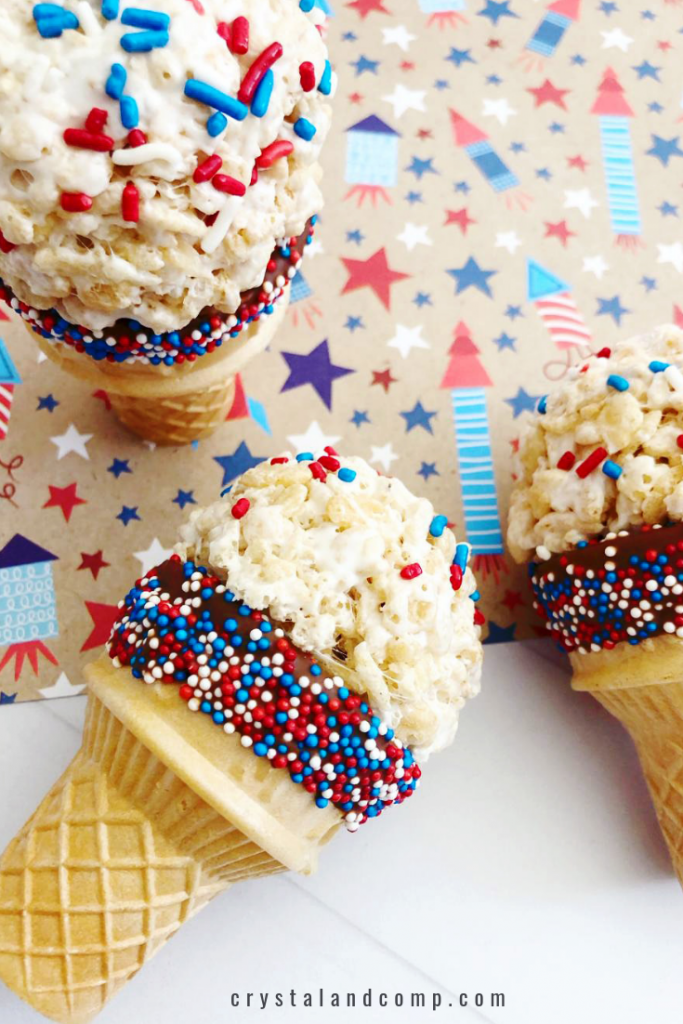
4th of July Rice Krispie Treat Ice Cream Cones
Get ready for a deliciously sweet and festive treat with our Ice Cream Rice Krispies Recipe! Whether you’re celebrating the 4th of July or simply looking for a fun summer dessert, these tasty treats are sure to impress. Made with classic Rice Krispies cereal and gooey marshmallows, these crispy squares are topped off with light cocoa candy melts for an extra burst of flavor.
Independence Day is just around the corner and nothing screams celebration like festive desserts. Show your patriotic spirit with red, white, and blue sweets that are as delicious as they are beautiful. From flag-inspired cakes to gooey berry-filled pies, 4th of July Desserts are the cherry on top of any backyard barbecue.

Whether you prefer classic flavors like apple and cherry or more modern options like blueberry cheesecake, there’s a dessert out there that will satisfy your sweet tooth and pay homage to our nation’s birthday.
Easy Rice Krispie Desserts
Easy Rice Krispie desserts are a great go-to for quick and tasty treats that hardly take any effort. With just a few simple ingredients like Rice Krispies cereal, marshmallows, and butter, you can whip up a bunch of awesome desserts perfect for any occasion.
- Rice Krispie Bird Nests
- Instant Pot Layered Rice Krispie Treats Using Peeps
- Oreo Stuffed Rice Krispie Treats
- The Most Amazing No Bake Rice Krispies Snack
Ingredients Needed for this Rice Krispie Recipe
Here’s what you need to make this 4th of July Treat!
- Rice Krispies Cereal – Their light and crispy texture adds the perfect crunch, balancing out the gooey melted marshmallows and rich light cocoa candy melts. Plus, Rice Krispies have a mild flavor that lets the sweetness of the other ingredients shine through.
- Marshmallows – Marshmallows are super important in this recipe because they hold everything together. When melted, they turn into a sticky, gooey mix that coats each Rice Krispies piece, making sure the treats stay in shape, whether you’re making simple squares or fun, intricate shapes.
- Butter – Butter adds richness and flavor that really boosts the overall taste. When you mix it with melted marshmallows, it helps create a smoother, more manageable mixture, making it easier to blend in the Rice Krispies cereal. Plus, butter keeps the marshmallow mixture from getting too sticky, so you can spread and shape it without it clinging to your hands or utensils.
- Ice Cream Cones – These wafer-like cones blend beautifully with the gooey marshmallow and crispy cereal combo, giving you a delightful mix of textures. Plus, ice cream cones make the dessert more fun and appealing, especially for kids. Serving the Rice Krispies in cones means they’re easy to hold and mess-free, ideal for backyard barbecues and outdoor events.
- Cocoa Candy Melts – Cocoa candy melts add a rich, delicious chocolatey layer to the rice krispies that takes the flavor to the next level. Once melted, their smooth and creamy consistency gives an irresistible coating that boosts the marshmallow sweetness and the Rice Krispies crunch.
- 4th of July Sprinkles – 4th of July sprinkles are the perfect finishing touch for the rice krispies, adding an extra layer of festivity and fun to these delightful treats. Not only do they enhance the aesthetic appeal by adding a pop of color, but they also provide a subtle crunch that complements the soft, gooey marshmallows and crispy Rice Krispies cereal.
- Nonpareil Sprinkles – Nonpareil sprinkles are a fantastic addition to the dessert because of their unique texture and vibrant look. These tiny, round candy beads add a delightful crunch to each bite, perfectly contrasting with the gooey marshmallows and crispy Rice Krispies cereal.

Shop My Kitchen
Can I Make These Ice Cream Cone Rice Krispie Treats Ahead of Time?
Yes, you can totally make these Ice Cream Cone Rice Krispie Treats ahead of time! Doing so can save you a ton of time and stress, especially if you’re planning for a big gathering or party. Just wrap each cone in plastic wrap or store them in an airtight container to keep them fresh and delicious. This will prevent the cones from getting stale and stop the marshmallow mixture from hardening too much.

For the best taste and texture, try to make the treats no more than a day or two before your event. Keep them in a cool, dry place and avoid the fridge, as it can make the cones soggy. By following these simple storage tips, you can enjoy the ease of prepping these delightful treats ahead of time while making sure they stay as tasty and appealing as when you first made them.
How Should I Store Ice Cream Cone Rice Krispies?
Keeping your Ice Cream Cone Rice Krispies fresh and tasty is a breeze with these simple tips. First, wrap each treat individually in plastic wrap to keep them from drying out and ensure the marshmallow mixture stays moist. Then, pop them into an airtight container for extra protection. This way, they won’t soak up any weird odors and will stay crisp.

Store the container in a cool, dry spot to avoid any moisture that could make the cones soggy. For the best taste, enjoy them within one or two days of making. And here’s a pro tip: don’t refrigerate them! The cold can make the marshmallows hard and ruin the crunch of the cones. Stick to these tips, and your Ice Cream Cone Rice Krispies will stay as delightful as when you first made them.
What Can I Use If I Don’t Have Marshmallows?
So, you’re in the middle of making a yummy Rice Krispies treat and—uh-oh—you realize you’re out of marshmallows. No need to panic! There are plenty of alternatives to save the day. Got Peeps? Those colorful marshmallow chicks from Easter can be a fun and festive swap. Or, if you have marshmallow fluff, that works great too—it melts easily and gives you the same sticky sweetness to hold everything together.

These substitutes not only work but might even add a unique twist to your usual recipe. With a dash of creativity, you’ll see that missing ingredients can lead to some delightful new kitchen discoveries!
Dessert Baking Essentials at Amazon
Amazon has everything you need for dessert baking, from top-notch bakeware and mixers to specialty ingredients and fun sprinkles. With easy shopping and helpful reviews, Amazon makes it simple to whip up delightful and delicious treats at home.
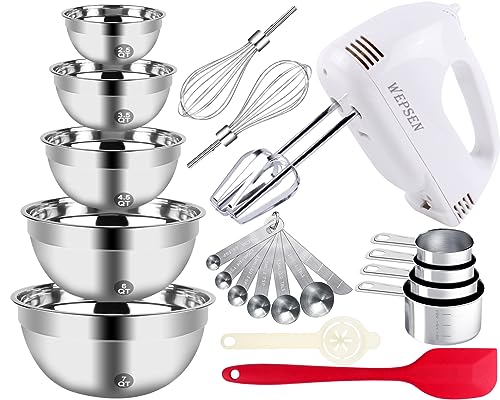
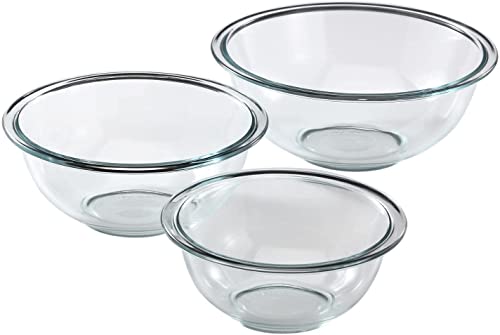
Ice Cream Scoop, 3Pcs Cookie Scoop Set, 18/8 Stainless Steel Cookie Dough Scoop, Cookie Scoops for Baking Set of 3, Ice Cream Scooper with Trigger Release, Cookie Scooper for Baking, Cupcake Scoop WEPSEN 5-Speed Electric Hand Mixer, 5 Large Mixing Bowls Set, Handheld Mixers with Whisks Beater, Stainless Steel Metal Nesting Bowl Measuring Cups Spoons Kitchen Cake Blender for Baking SuppliesPyrex Glass Measuring Cup Set (3-Piece, Microwave and Oven Safe),ClearWilton Excelle Elite 3-Tier Cooling Rack for Cookies, Cake and More – Cool Batches of Cookies, Cake Layers or Finger Foods, BlackPyrex Smart Essentials 3-Piece Prepware Mixing Bowl Set, 1-Qt, 1.5-Qt ,and 2.5-Qt Glass Mixing Bowls, Dishwasher, Microwave and Freezer SafeHOTEC Food Grade Silicone Rubber Spatula Set for Baking, Cooking, and Mixing High Heat Resistant Non Stick Dishwasher Safe BPA-Free Multicolor Set of 5


Festive 4th of July Desserts
From colorful cupcakes decked out with stars and stripes to refreshing fruit salads shaped like the American flag, there are so many fun options for a festive spread. These tasty treats not only taste amazing but also add a fun, patriotic vibe to your 4th of July celebration.
- Easy 4th of July Cookie Bars
- July 4th Cake Pops
- Red Velvet 4th of July Cake
- 4th of July Berrylicious Cupcakes in a Jar

Ice Cream Rice Krispies Recipe
Try this easy and festive Ice Cream Rice Krispies Recipe for a delicious 4th of July dessert! Get the recipe and enjoy a sweet holiday treat today!
Ingredients
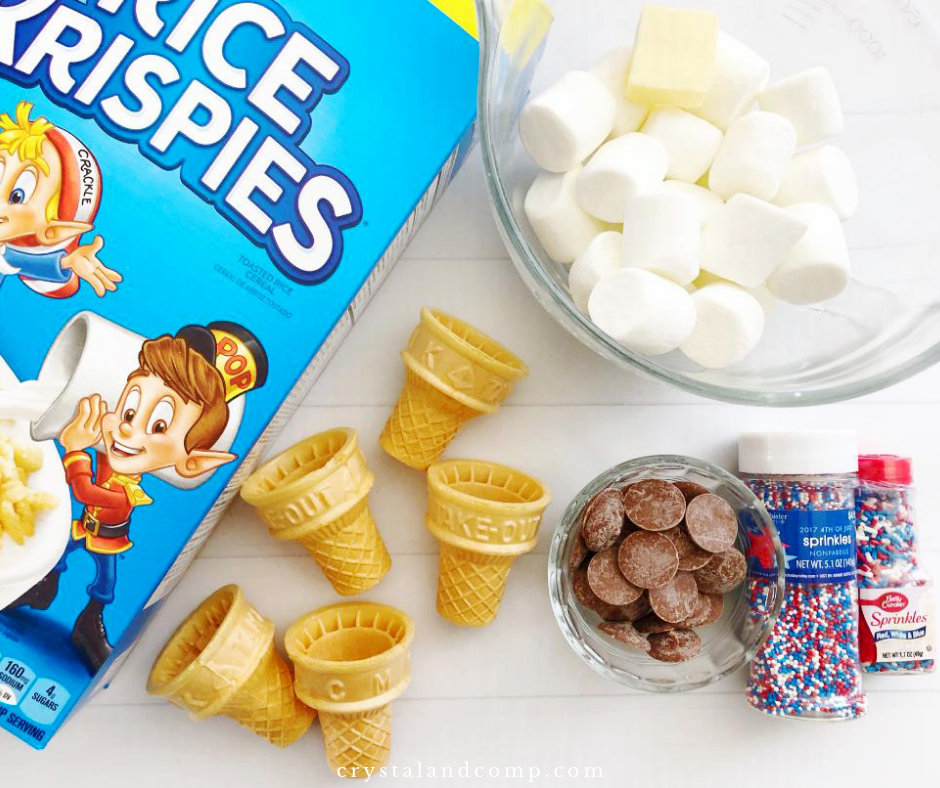
- 6 Cups Rice Krispies Brand Cereal
- 15 Ounces Marshmallows
- 3 Tablespoons Softened Butter
- 1 Cup Light Cocoa Candy Melts
- 10 Ice Cream Cones
- 4th of July Sprinkles
- 4th of July Nonpareil Sprinkles
Instructions
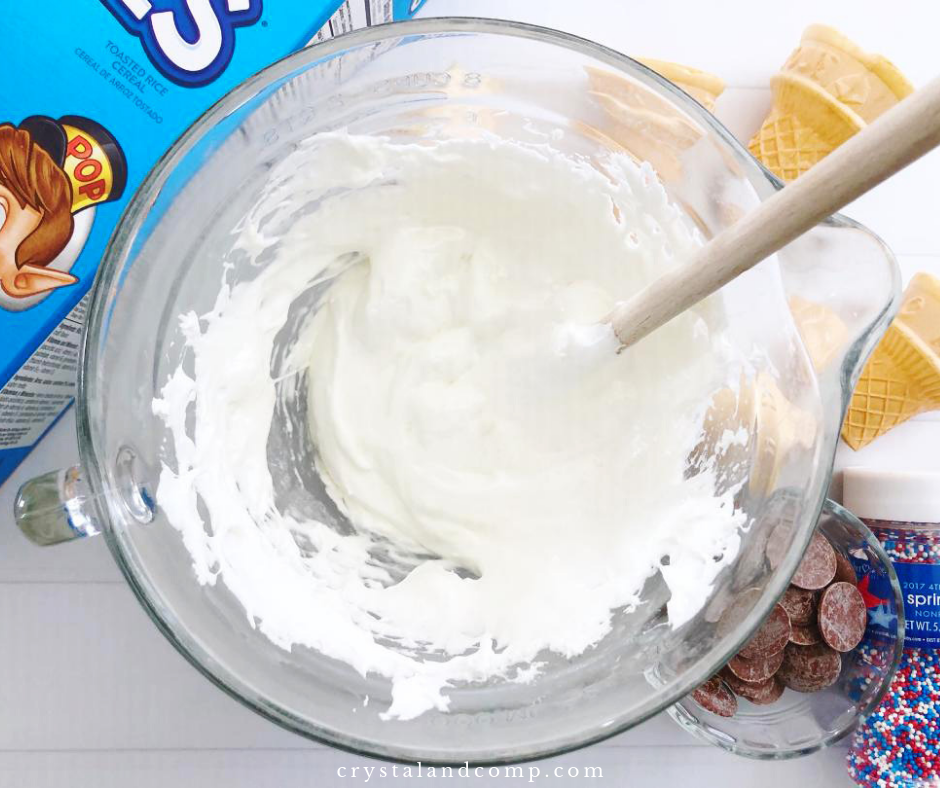
- Using a large microwave safe mixing bowl add the marshmallows and butter. Microwave for 1-2 minutes until the marshmallows get puffy and the butter is melted.
- Remove from the microwave and stir well with a rubber spatula.
- Add in the Rice Krispies cereal and mix well until all of the cereal is coated with marshmallow. Set the bowl aside and let it begin to cool.
- Using a small microwave safe bowl, heat the chocolate candy pieces in the microwave for 3-4 minutes on 50% power. Take it out every 30 seconds to stir until it is fully melted.
- Don't overheat the chocolate. If it gets overheated it will become a hard ball of chocolate that will not melt.
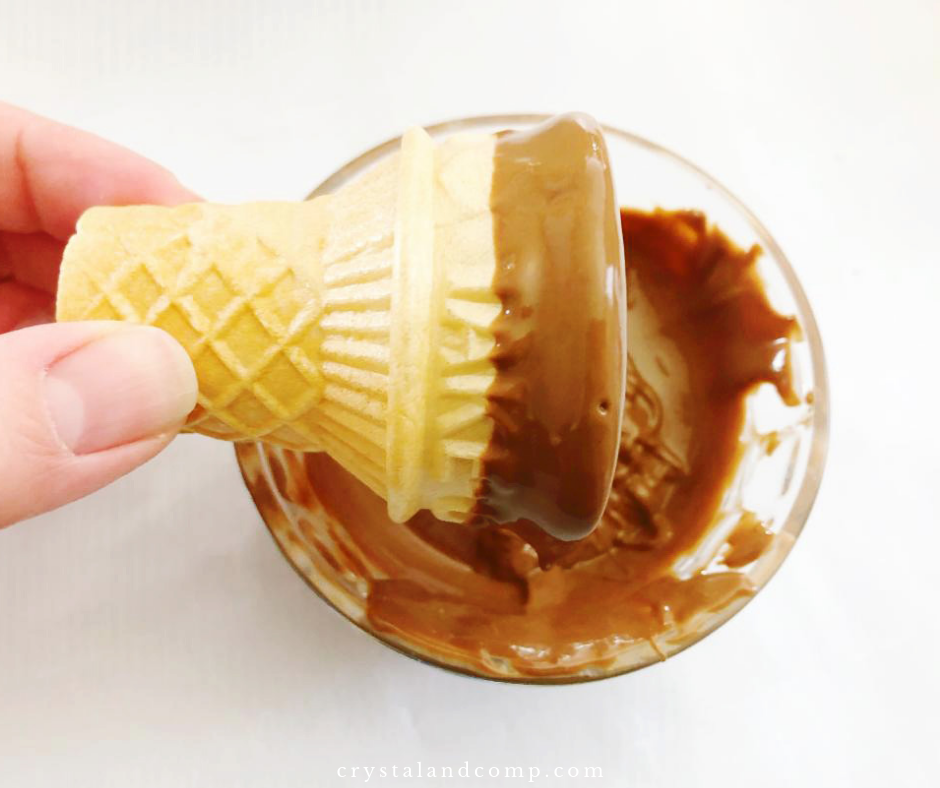
- Hold the ice cream cones one at a time upside down and dip them into the melted chocolate. Scrape away or shake off any excess chocolate.
- Immediately coat the chocolate with 4th of July nonpareil sprinkles and place the cones in the freezer to harden. They should be hardened within 15 minutes or so. (You could put them on a cookie sheet if that will fit in your freezer.)
- Scoop out a handful of Rice Krispies and form a ball. Press the ball into the cone ensuring it is shaped like a scoop of ice cream.
- Sprinkle most of the 4th of July Sprinkles onto the top of the Rice Krispies. Press them down if you need to.


These are so festive and fun! What a great treat idea for the 4th of July! Thanks so much for sharing the idea and recipe! These will be so much fun to make (and eat!)
Such a FUN twist on traditional snacks, Crystal! Thanks for sharing
Creatively, Beth