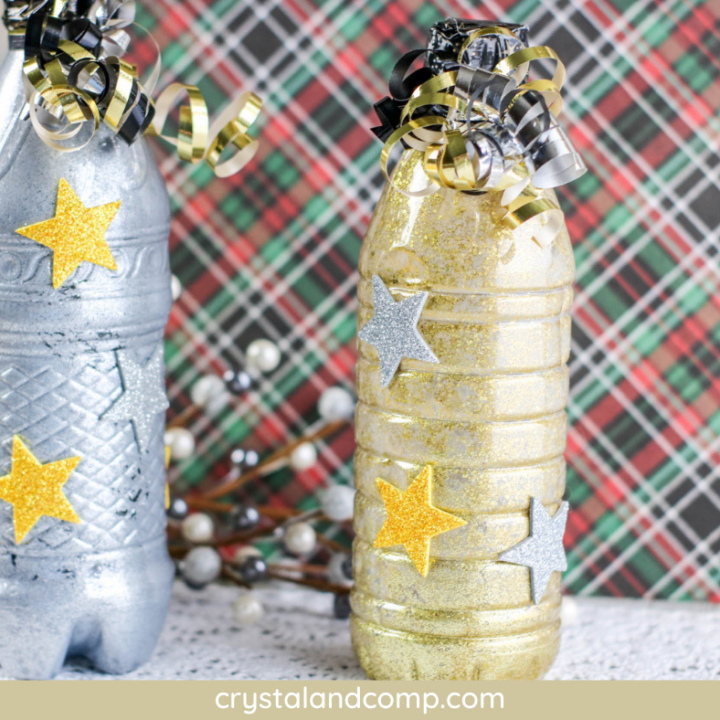
Water Bottle Noise Makers
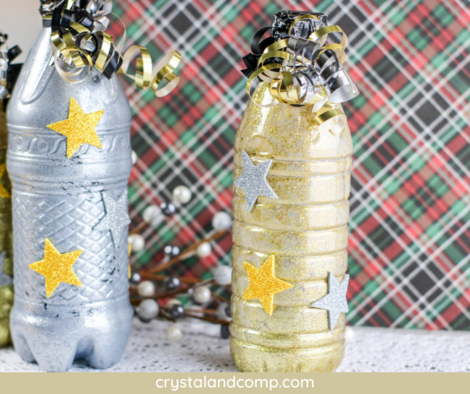
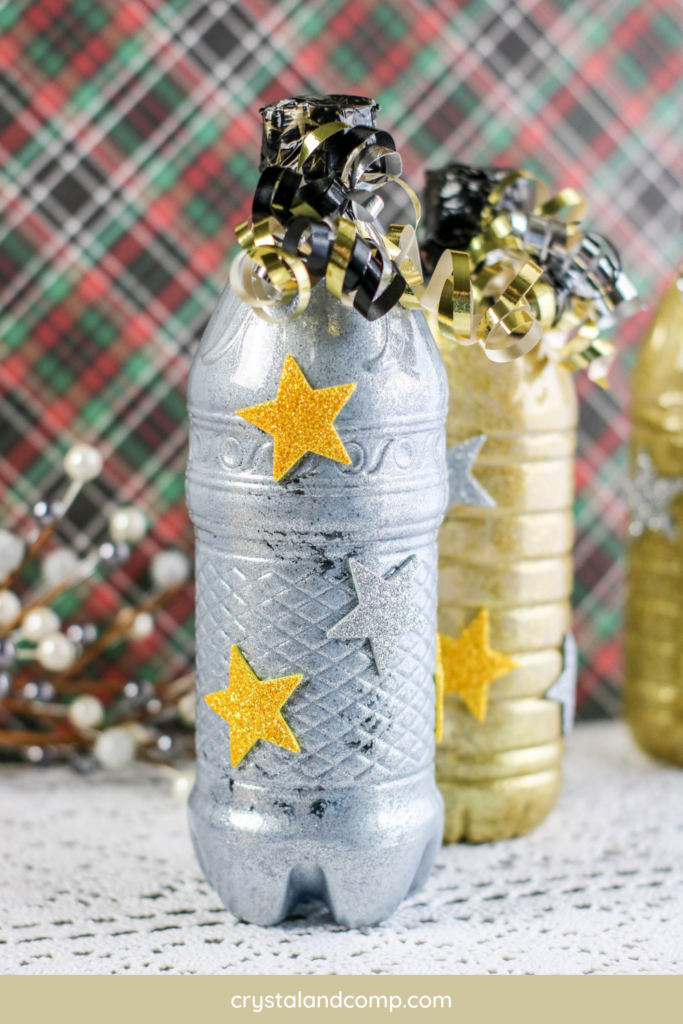
If you are on the hunt for some cool DIY party supplies, these water bottle noise makers are perfect. The kids will love them!
These go perfect with any kids New Years Eve Party ideas you might be working on.

Supplies Needed to Make a Noise Maker
- Used water bottles, empty and dry
- Glitter acrylic paint
- Glitter (if more is desired)
- Festive duct tape
- Bells (about 2 for each noisemaker)
- Pony beads (for additional noise if desired)
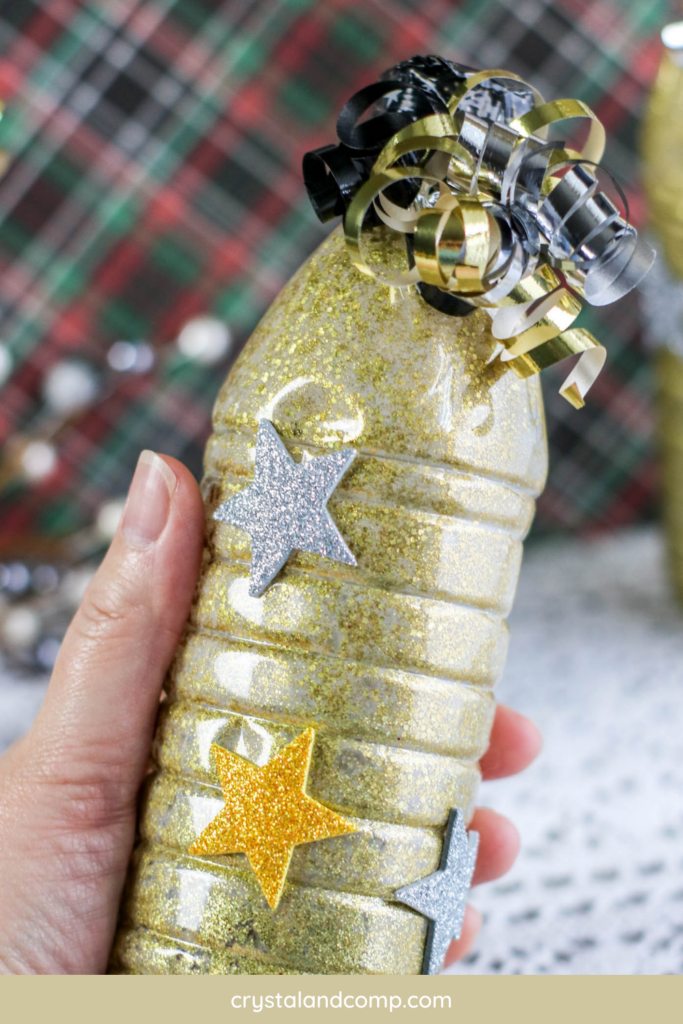
- Star stickers
- Curling ribbon
- Crafting scissors
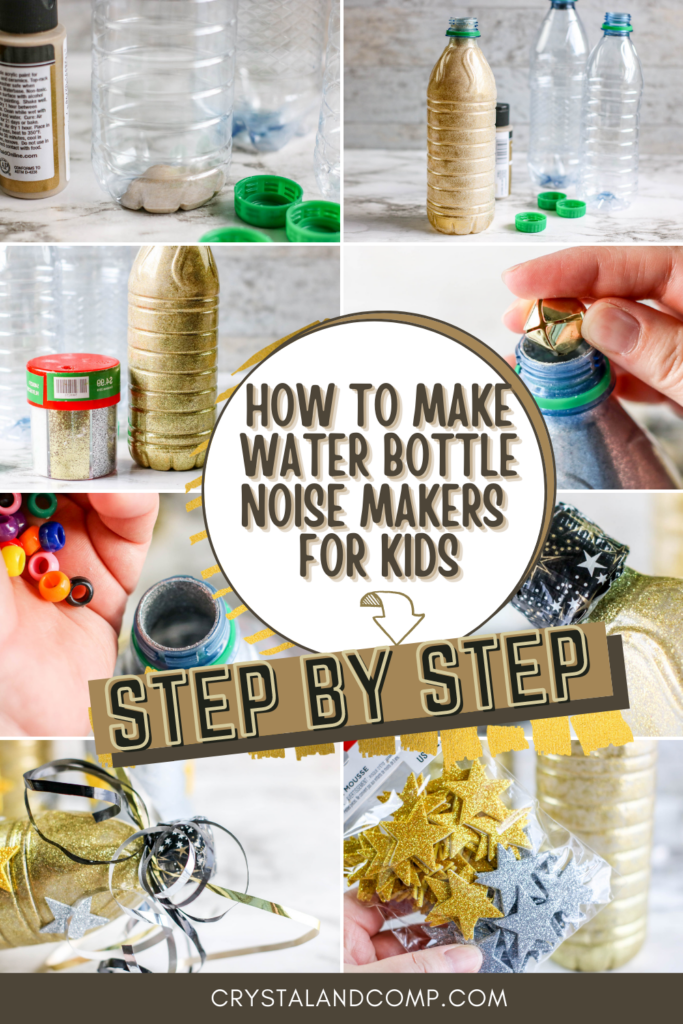
Step by Step How to Make Water Bottle Noise Makers
- First, you want to remove the lids from the water bottles and ensure the inside of each bottle is empty and completely dry on the inside. Sit them out in the sun with the kids off if you need to.
- Once dry, add about 2 tablespoons of paint into each bottle (more for large bottles and less for smaller bottles) and put the lid back on.
- Shake the bottle and turn it this way and that way so that you can thoroughly and evenly coat the inside of the bottle with the pain.
- If you want the pain to be even sparklier, you can remove the lid and drop in some more glitter. Put the lid back on and shake so the glitter evenly attaches to the still wet pain.
- Remove the lid again and lay the bottle down on it’s side so the pain inside will dry.
- Once the bottle is dry inside, you can add your noise making items. In this tutorial we added bells and pony beads to each bottle. Add more items for more noise and fewer for less noise.
- Put the lid back on the bottle.
- We want to ensure the lid stays on so there is never a mess when shaking. Grab some decorative duct tape and cover the lid completely. You could also use hot glue to seal the lid if you prefer.
- Decorate the bottle with curly ribbon and streamers by tying it around the neck of the bottle. Use your scissors to curl the ends of the ribbon.
What Things Can I Use to Fill a Water Bottle to Make a Noise Maker
There are many different things you can use, like the things listed in this tutorial, but here are a few more:
- rice
- rocks
- small pasta
- beads
- beans
What Are Noise Makers?
Noise makers are party supplies that are used to make fun, sometimes loud, noises for parties and celebrations. Kids find them super fun and these can be used for parties like New Years Eve or birthdays.
What Can I Use to Paint The Inside of a Water Bottle
Any acrylic paint can be used to coat and color the inside of a water bottle. The acrylic will stick to the inside of a dry, clean, empty water bottle.
New Years Eve Ideas for Kids:
- New Years Cupcake Recipes
- DIY Party Noise Makers
- Sparkling Drink with Fruit
- Non Alcohol Champagne Spritzer
- 50 Kid Friendly Appetizers
- New Years Eve Party Idea for Kids
- Champagne Cupcake Recipe

How to Make a Noise Maker Using a Water Bottle
No Ratings
Materials
- Water bottles, empty and dry
- Glitter paint
- Glitter (if more is desired)
- Festive duct tape or washi tape
- Bells (about 2 for each noisemaker)
- Pony beads (for additional noise if desired)
- Star stickers
- Curling ribbon
- Scissors
Instructions
- First, you want to remove the lids from the water bottles and ensure the inside of each bottle is empty and completely dry on the inside. Sit them out in the sun with the kids off if you need to.
- Once dry, add about 2 tablespoons of paint into each bottle (more for large bottles and less for smaller bottles) and put the lid back on.
- Shake the bottle and turn it this way and that way so that you can thoroughly and evenly coat the inside of the bottle with the pain.
- If you want the pain to be even sparklier, you can remove the lid and drop in some more glitter. Put the lid back on and shake so the glitter evenly attaches to the still wet pain.
- Remove the lid again and lay the bottle down on it's side so the pain inside will dry.
- Once the bottle is dry inside, you can add your noise making items. In this tutorial we added bells and pony beads to each bottle. Add more items for more noise and fewer for less noise.
- Put the lid back on the bottle.
- We want to ensure the lid stays on so there is never a mess when shaking. Grab some decorative duct tape and cover the lid completely. You could also use hot glue to seal the lid if you prefer.
- Decorate the bottle with curly ribbon and streamers by tying it around the neck of the bottle. Use your scissors to curl the ends of the ribbon.