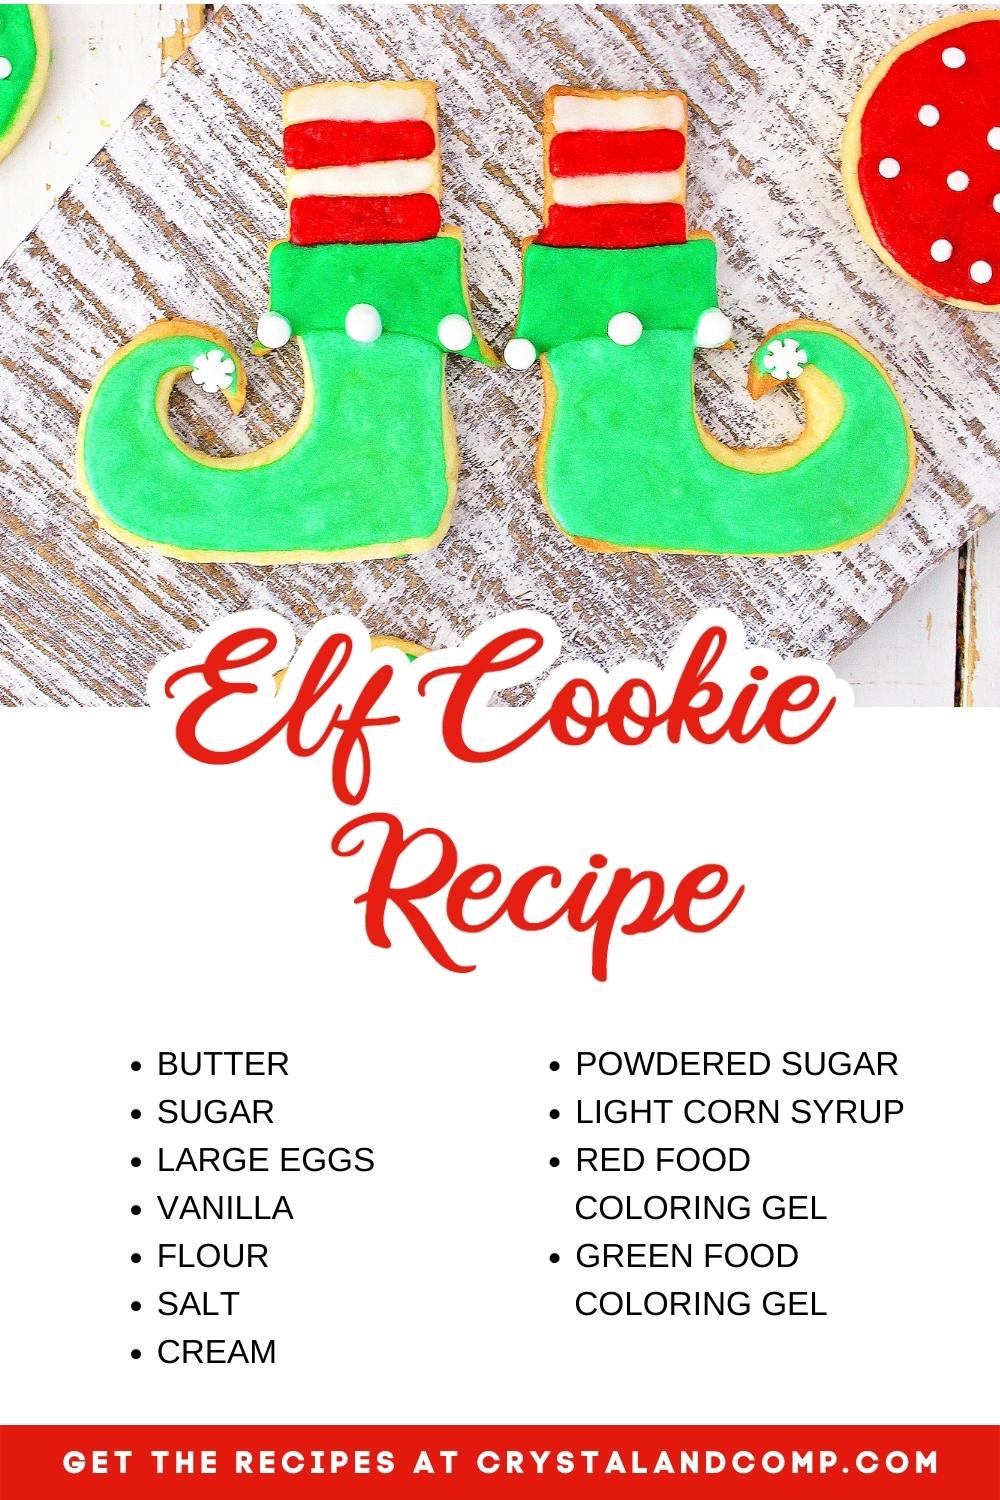
Elf Cookie Recipe
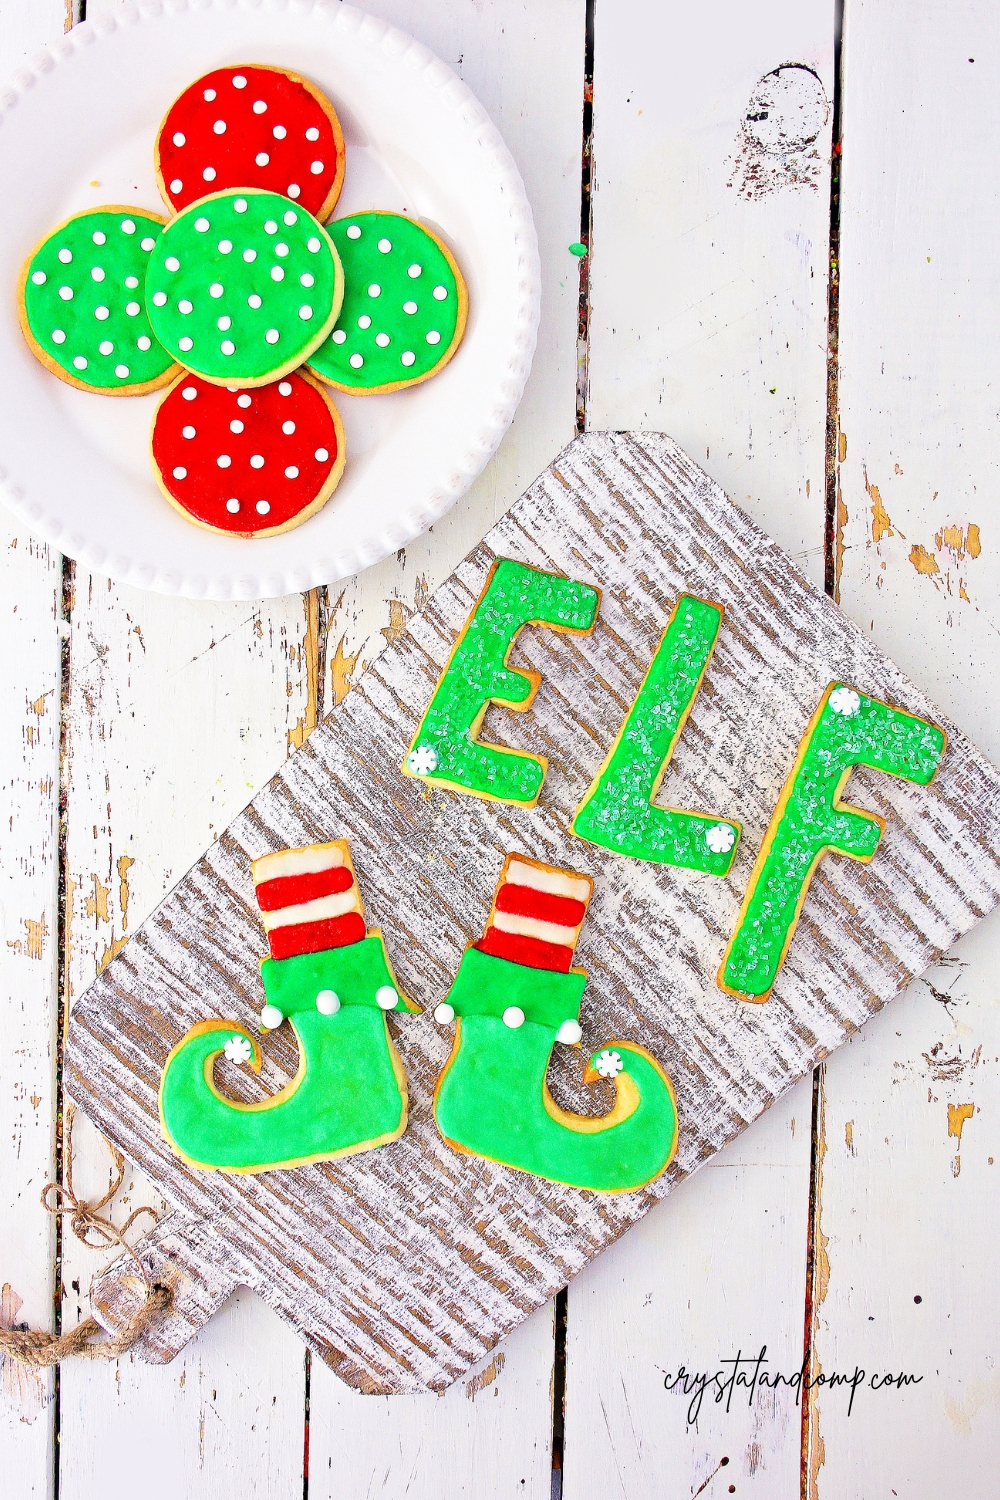
If you’re looking for an easy recipe to impress your family and friends this holiday season, then look no further than our Elf Cookie Recipe! Not only are these cookies easy to make but they also have that festive elf shape. Follow our easy steps and tips to get the perfect elf cookie every time. Enjoy making a batch of these cookies for a Christmas party or as a gift for your favorite elf-lover! You won’t regret it. Happy baking!
Easy Christmas Cookie Recipes are a great way to get your holiday baking done in no time! Not only will they satisfy your sweet tooth, but they’re simple enough that even the beginner baker can attempt them. With these recipes you’ll be able to enjoy homemade treats throughout the season and have fun in the process. Who knows, maybe Easy Christmas Cookie Recipes will become a regular tradition for your family?
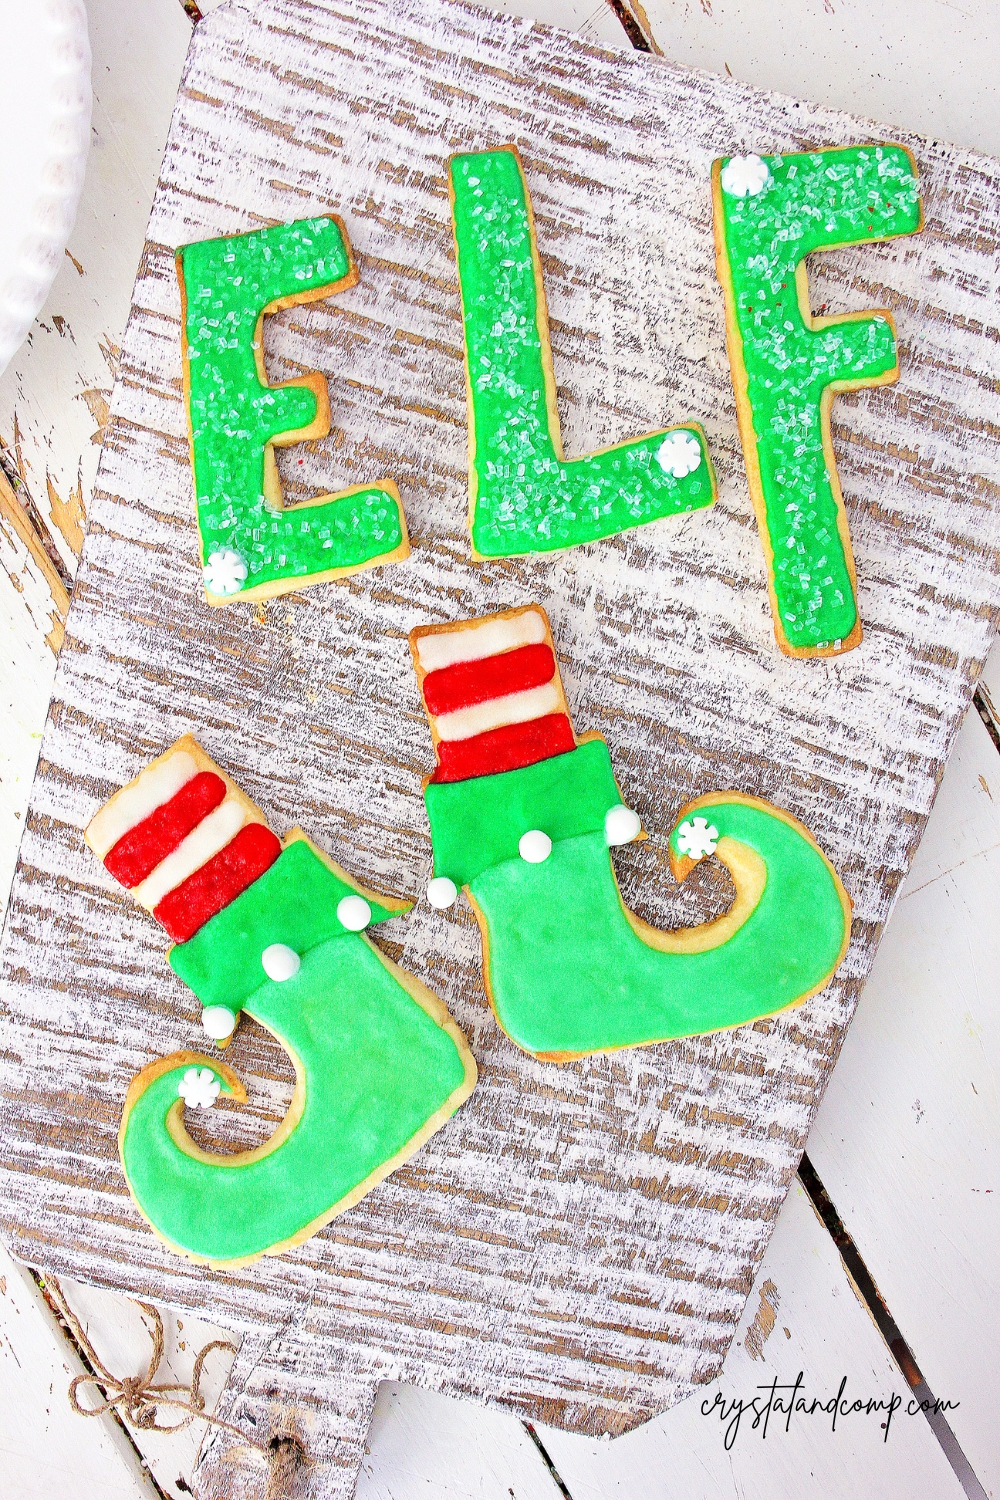
Ingredients Needed for this Recipe
Here’s what you need to make this cookie recipe!
- Butter– Butter is essential to the elf cookie recipe, so it’s a good thing it tastes so delicious! Butter adds moisture and tenderness, while its natural fats help crisp up the buttery cookie during baking. The butter also adds flavor – buttery goodness that gives the Elf Cookie its signature taste.
- Granulated Sugar– Granulated sugar is a great choice for any elf cookie recipe. Granulated sugar has the perfect balance of sweetness and crunch, making it a great addition to any festive treat. It also helps create a chewy texture while baking, which is ideal for any traditional elf cookie.
- Large Eggs– Large Eggs are especially useful for the Elf Cookie Recipe because their large size allows for a better consistency of the dough. This ensures that the cookies come out tasting great, every time!
- Vanilla– Vanilla is the perfect addition to any elf cookie recipe! Vanilla has a subtle flavor that can both complement and enhance other flavors in the mix. It also adds sweetness, creaminess, and a natural aroma to the cookies, making them irresistibly delicious. Vanilla pairs naturally with ingredients like cinnamon, cocoa powder, and butter.
- Flour– Flour is an important part of any recipe, so it’s no surprise that it’s integral to the perfect elf cookie! Flours vary from baker to baker, but the trickiest part of this particular elf cookie recipe is understanding which type of flour works best. An all-purpose or plain flour will yield a very traditional texture and outcome, while using cake or self-raising flours can help produce a consistently fluffier cookie.
- Salt– Salt is an essential ingredient for the elf cookie recipe. It adds flavor and complexity, bringing out the other flavors of the ingredients. Salt adds a hint of salty sweetness that helps the cookie taste well balanced, not overly sweet or boring.
- Powdered Sugar– Powdered sugar has a finer consistency than regular granulated white sugar, making it perfect for softer frostings that are easy to spread and blend in with the cookie. Powdered sugar also dissolves more easily and helps create the perfect texture for our elf cookies.
- Cream– Cream adds a delicious taste to any dessert, but when used with elf cookie frosting, it gives the sweets an extra touch of sweetness and decadence. Cream helps soften the texture of the frosting and makes it richer too. Cream contains fat that can help give the overall flavor a boost; as well as a creamy consistency that makes for enjoyable eating.
- Light Corn Syrup– Light Corn Syrup is a kitchen essential for anyone looking to make delicious, soft elf cookie frosting. Light corn syrup prevents sugar from crystallizing and gives your frosting that signature glossy shine.
- Red Food Coloring Gel– Red Food Coloring Gel is great for Elf Cookie frosting because it is easy to mix and gives a vibrant color to the frosting. Unlike other food coloring, Red Food Coloring Gel does not contain artificial dyes that can be harmful to our health, which makes baking more fun and safe for the whole family.
- Green Food Coloring Gel– Green Food Coloring Gel is the perfect way to make your elf cookie frosting stand out! It provides vibrant, true-to-life green color with just a few drops, making it super easy to use and great for decorating. Green food coloring gel is a concentrated solution, so compared to liquid food coloring, you only need a tiny amount to get the desired results.
Baking Essentials from Amazon:
KitchenAid KP26M1XER 6 Qt. Professional 600 Series Bowl-Lift Stand Mixer – Empire Red Wood French Rolling Pin for Baking, QUELLANCE Wooden Dough Roller with Silicone Baking Mat, Beech Wood Rolling Pins for Baking Dough, Pizza, Pie, Pastries, Pasta and Cookies,Red Pastry Mat
 BRIGHTFROM Condiment Squeeze Bottles, 8 OZ Empty Squirt Bottle with Twist Top Cap, Leak Proof – Great for Ketchup, Mustard, Syrup, Sauces, Dressing, Oil, Arts and Crafts, BPA FREE Plastic – 2 PACK
 HOTEC Food Grade Silicone Rubber Spatula Set for Baking, Cooking, and Mixing High Heat Resistant Non Stick Dishwasher Safe BPA-Free Multicolor Set of 5
 KitchenAid Classic Mixing Bowls, Set of 3, Pistachio
 Wilton Easy Layers Sheet Cake Pan, 2-Piece Set, Rectangle Steel Sheet Pan
How Do You Make Cookies That Keep Their Shape?
Making cookies that keep their shape can be a challenge, since cookies made with just flour and sugar tend to lose their shape in the oven. The most important trick to cookies that keep their shape is temperature control — not just controlling the temperature of your oven, but also controlling the temperature of your ingredients. Start by preheating your oven to the correct temperature, then chill some softened butter and your cookie dough in the refrigerator for at least 15 minutes before baking.
This will ensure that the butter doesn’t melt too quickly while cookies are baking, which could make them spread out too much. When you’re ready to bake, use a medium-sized scooper or spoon to scoop portioned cookie dough onto baking trays lined with parchment paper so cookies stay moist and don’t stick. With these tips you should be able to get those perfect cookies with sharp edges and shapes!
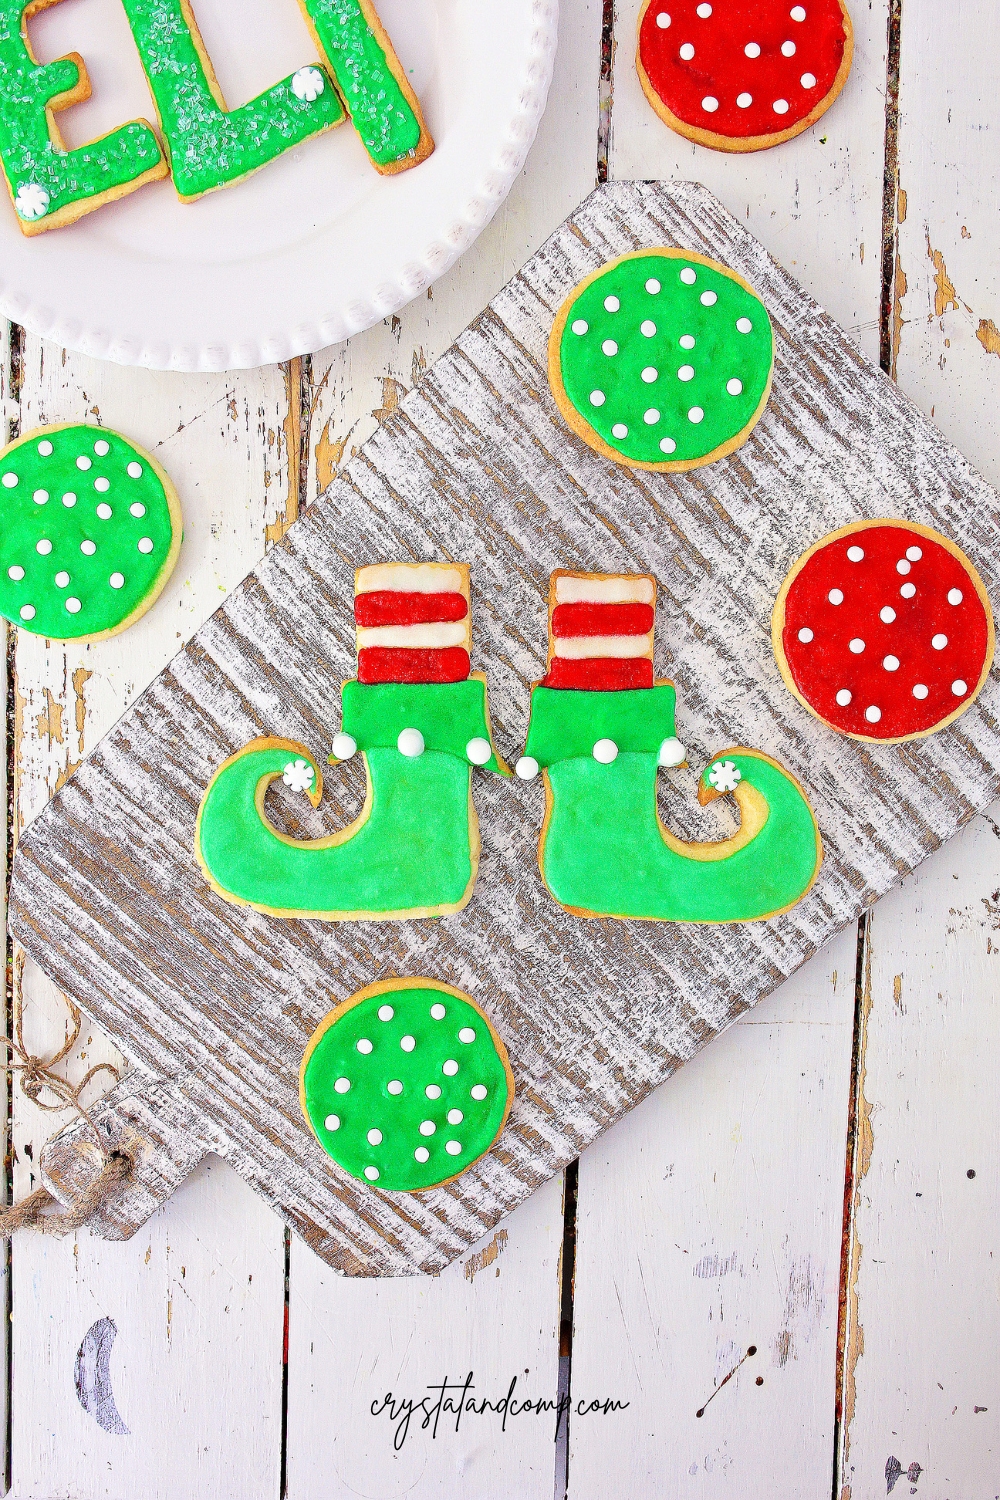
Should You Chill Cookie Dough Before Shaping?
For those who love eating freshly-baked cookies, the decision between chilling cookie dough before shaping and getting to that yummy goodness ASAP can be a difficult one. For chocoholics and other cookie connoisseurs, the debate is often whether it’s really worth the wait. The answer to this debate is a resounding yes! Chilling cookie dough before shaping does indeed merit its place in all good baking books.
Not only does it stop your cookies from spreading too much during baking, but by doing so you create a deliciously firmer and fluffier texture – perfect for those who like chewy and crunchy treats! So why not chill your cookie dough before shaping? Chill out while you enjoy that fresh oven-baked goodness with family or friends!
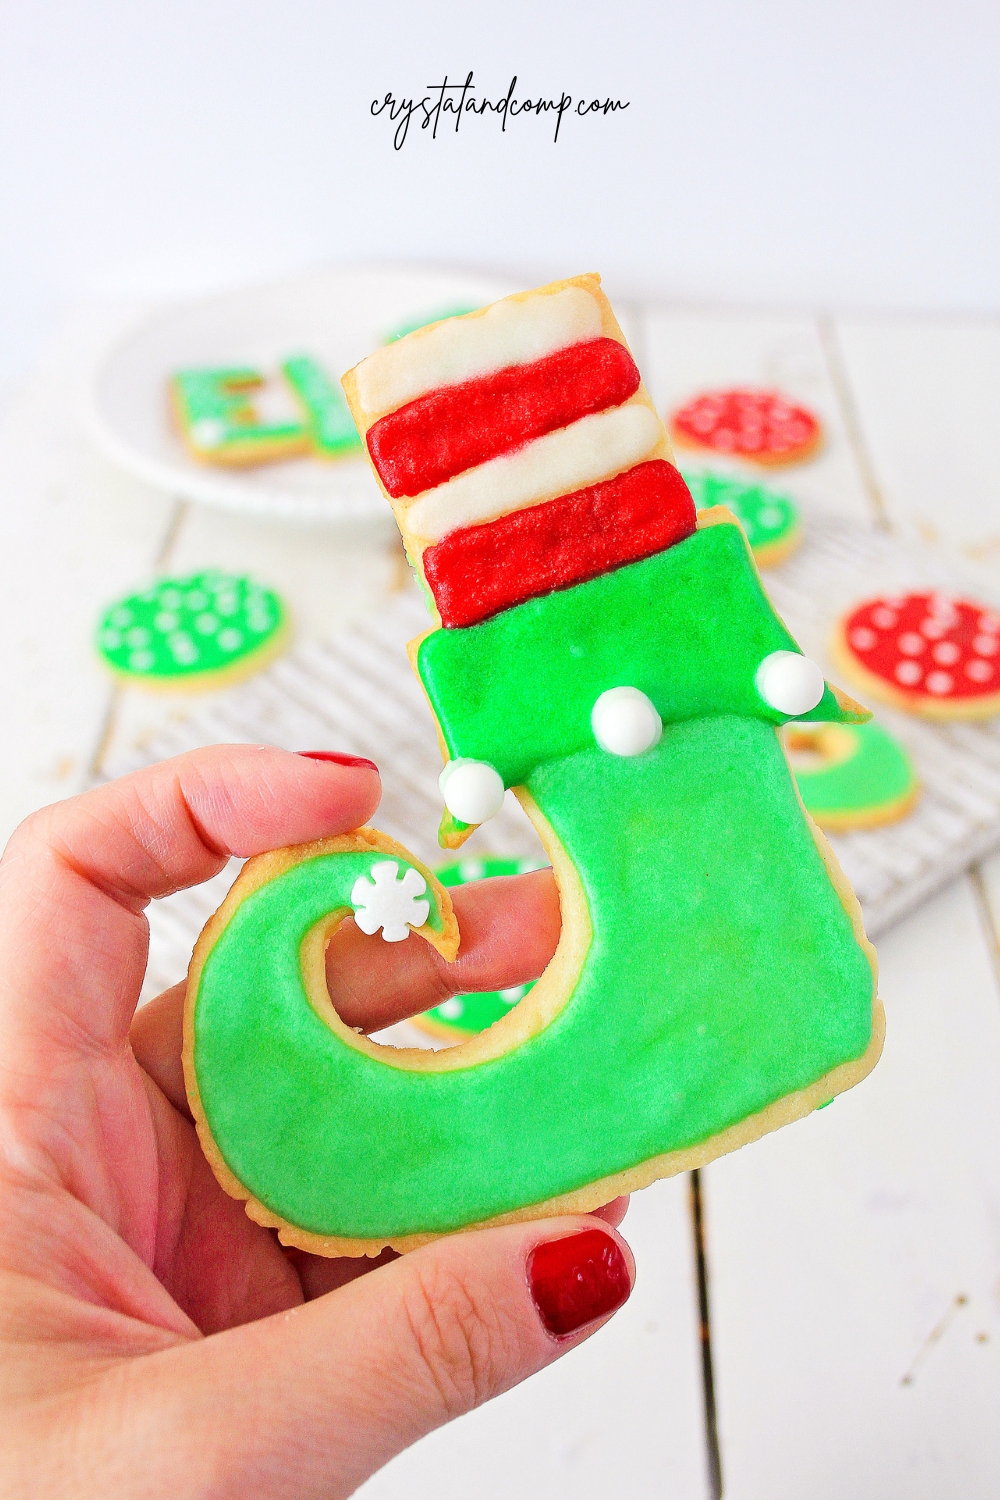
What Causes Cookies to Flatten Too Much?
It’s happened to all of us — you bake a batch of cookies, they come out of the oven looking gorgeous, and then as they cool, you notice that they’ve flattened too much! What causes this? Generally, it’s due to over-mixing the ingredients. When the flour is overly mixed with other ingredients, too much gluten develops, leading to flat cookies. To avoid this issue in the future, be sure to mix the flour in gently and for only the minimum amount of time necessary for the ingredients to combine properly.
If baked chocolate chip cookies are your weak spot, another culprit could be over-greasing your pans or using butter that wasn’t properly softened. It’s also helpful to refrigerate cookie dough prior to baking (without doing so can also cause too-flat baked goods). With just a few simple adjustments and vigilance while baking, you’ll soon be enjoying perfectly fluffy and delicious homemade treats!
Farmhouse Christmas Decor from Amazon:
More Easy Christmas Cookie Recipes
- Christmas Gumdrop Cookies
- Christmas Sprinkle Thumbprint Cookies
- Easy Christmas Thumbprint Cookies
- Ranger Cookie Recipe
You’ll Love These Other Frosted Cookies
- Rainbow Sugar Cookies
- How to Make Lofthouse Sugar Cookies
- Melt In Your Mouth Grinch Cream Cheese Sugar Cookies
- Italian Ricotta Cookies – Italian Christmas Cookie
Elf Cookie Recipe
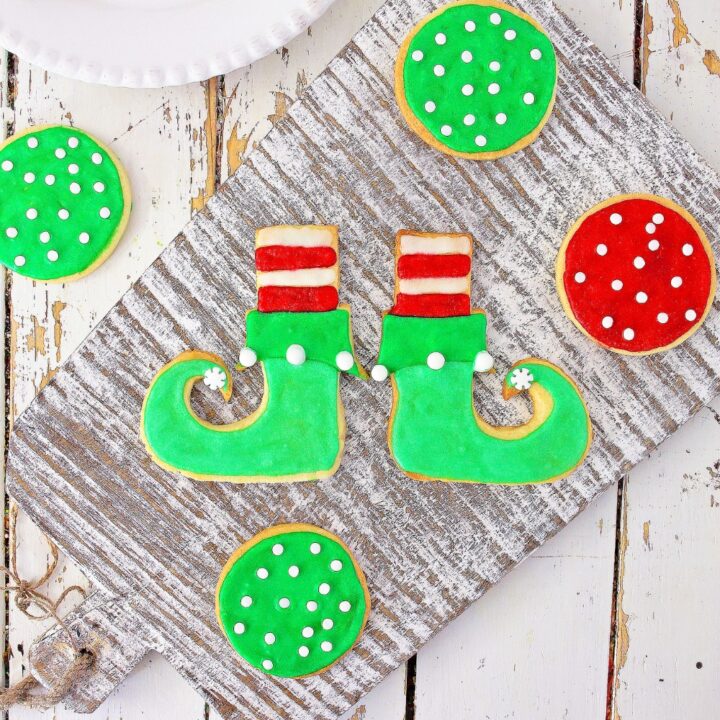
These cookies are a festive and easy treat to make during the holiday season. All you need is some butter, sugar, eggs, flour, and salt. Plus, we've got tips on how to get that perfect elf cookie shape.
Ingredients
- 2 Cups of Butter, softened
- 2 Cups of Sugar
- 2 Large eggs
- 1 Tablespoon Vanilla
- 5 Cups Flour
- 1/4 Teaspoon Salt
Icing
- 3 Cups Powdered Sugar
- 1/4 Cup Cream
- 1 Teaspoon Vanilla
- 2 Teaspoons Light Corn Syrup
- Red Food Coloring Gel
- Green Food Coloring Gel
Instructions
- First, print off the pattern for the cookies from this PDF link, and cut out the pattern for the cookies.
- In the mixing bowl of a stand mixer, cream the butter and sugar until light and fluffy. Add the eggs, and mix until well blended. Scrape down the sides of the bowl, and mix again.
- Add the vanilla, and blend. In a separate bowl, mix the flour and salt, and then add a little at a time until all the flour is added, and well blended.
- Place the dough on a floured surface, and flour a rolling pin. Sprinkle a small amount of flour on top of the dough, and roll the dough to a thin layer.
- Using the printed design, lay the design on top of the dough, and cut around the design with a sharp pairing knife.
- Place the cookies on a parchment paper lined cookie sheet, and bake for about 12 minutes, at 350 degrees, or until cookies are light golden brown around the edges.
- Let the cookies cool completely. While the cookies are cooling, make the icing.
- In the mixing bowl of a stand mixer, blend the cream, vanilla and corn syrup. Add the powdered sugar a little at a time until it's all been added, and blended. If the icing is too thin, add a little more powdered sugar, if it's too thick, and a few more drops of cream, starting with two or three drops.
- When you have the desired consistency, divide the icing in two large bowls, and one small bowl. Use the larger bowls for the red and green icing, and the small bowl for the white icing.
- To color the icing, start with about 1/2 a teaspoon of the gel food coloring, and mix well. If the color is too light, add a little more and stir well until you get the color desired. No food coloring is added to the white icing.
- If desired; You can place the white icing in a squeeze bottle for easy decorating. When the cookies have completely cooled, decorate with icing. Allow icing to dry, or set. Serve, and Enjoy!
Notes
- If you're decorating these with a group, you can make the cookies ahead, because they need to completely cool before you ice them.
- The squeeze bottles can be found at craft stores, or discount stores. Most grocery stores also carry them on the isle where you find the Utensils, and gadgets.
- It makes it much easier to dot the cookies, or stripe the cookies with the squeeze bottles.


